Connecting to Dialogflow
Connecting a Dialogflow Agent to YesHello.
Connect to Dialogflow to YesHello is not that complicated. You will simply need to retrieve a JSON file from Google and upload it to the YesHello Platform.
This guide will take you through generating and retrieving the Google Service Account Key (a JSON file) from your Dialogflow Agent.
Setting Up Dialogflow
To generate the account key, you will need to have the following:
A Google account to sign into Dialogflow
A Space on the YesHello Platform
If you already have an account on Dialogflow set up and an Agent ready, you can skip directly to connecting Dialogflow to YesHello. Otherwise, we will go over getting a Dialogflow Account and creating a Dialogflow Agent below.
Getting a Dialogflow Account
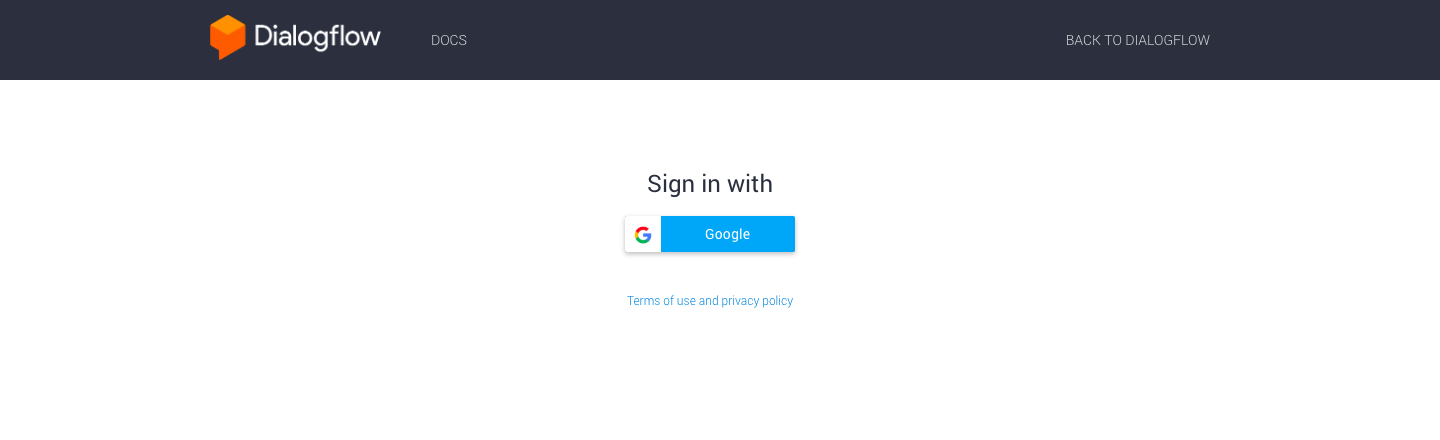
If you do not already have an account, visit the Dialogflow homepage and press "Go to Console" on the top right corner of the page. From here, you will be able to login to Dialogflow using your Google account.
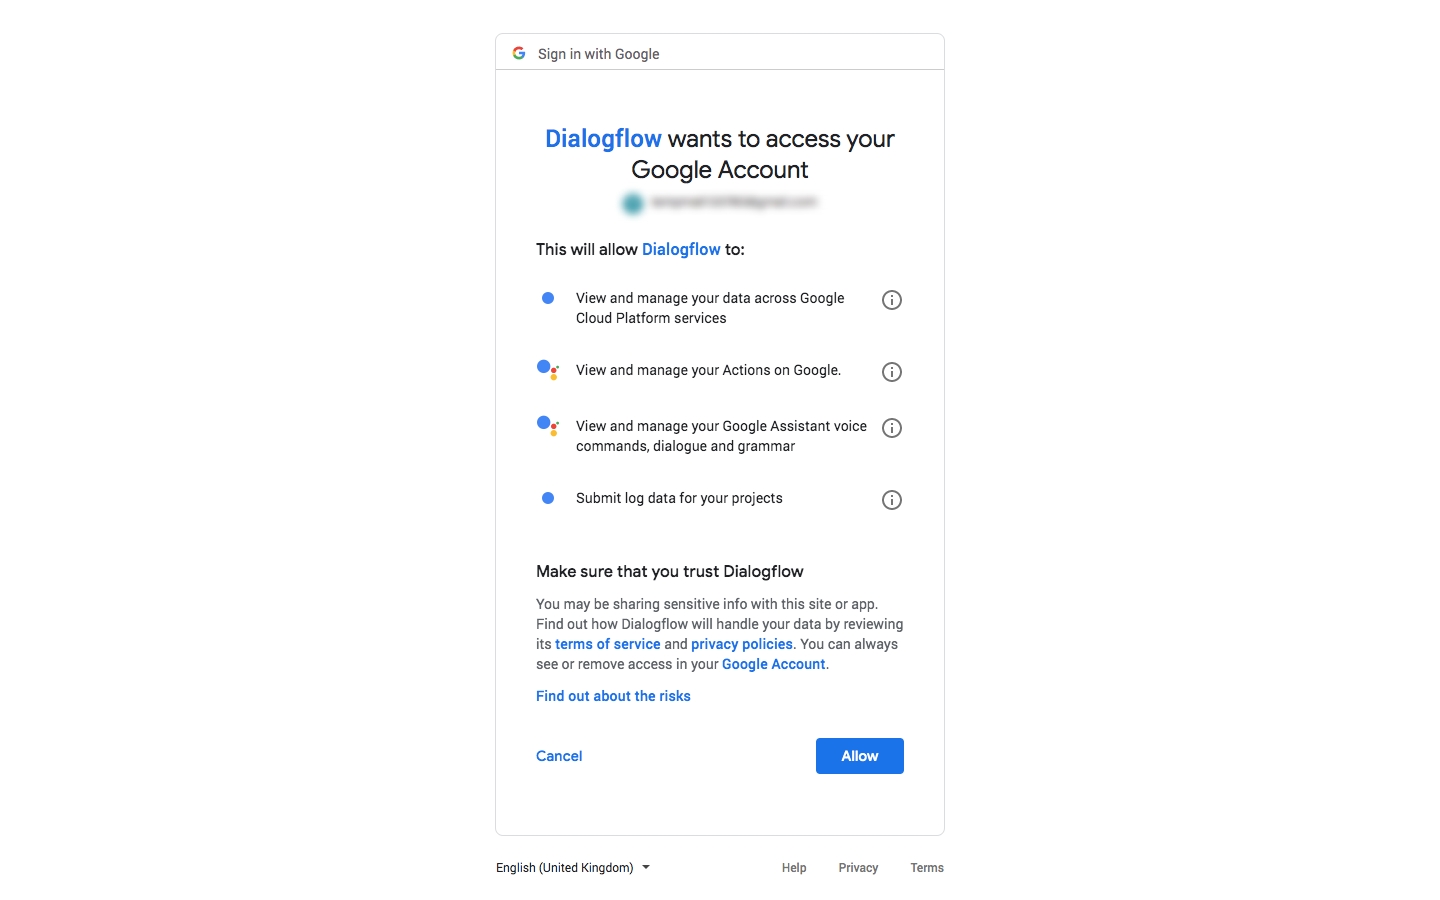
If this is your first time logging into Dialogflow, you will have to grant Dialogflow access to your Google account.
Press the blue "Allow" button to grant Dialogflow access to your Google account.
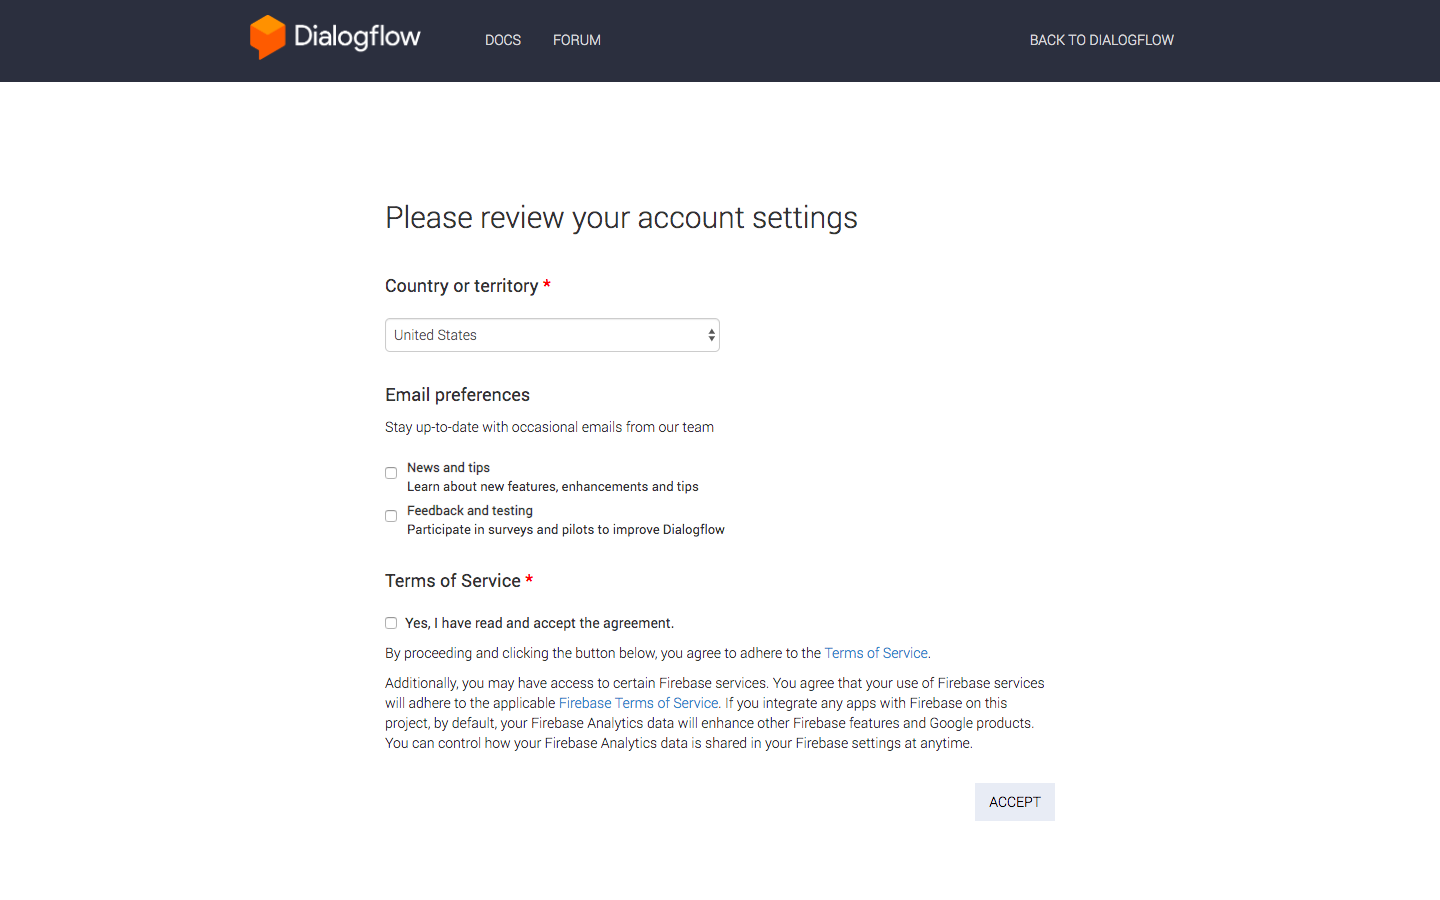
Before you can access your account, you will need to select your country and accept the Dialogflow terms of service.
Once you have completed the required fields, press the blue "Accept" button at the bottom to finish creating your account. This will take you to the Dialogflow dashboard.
You have now created your Dialogflow account and have logged into Dialogflow.
Creating a Dialogflow Agent
In Dialogflow, each NLP module is called an "Agent." The agent will act as the brain of your bot and is the component that will help your bot understand and classify human languages.
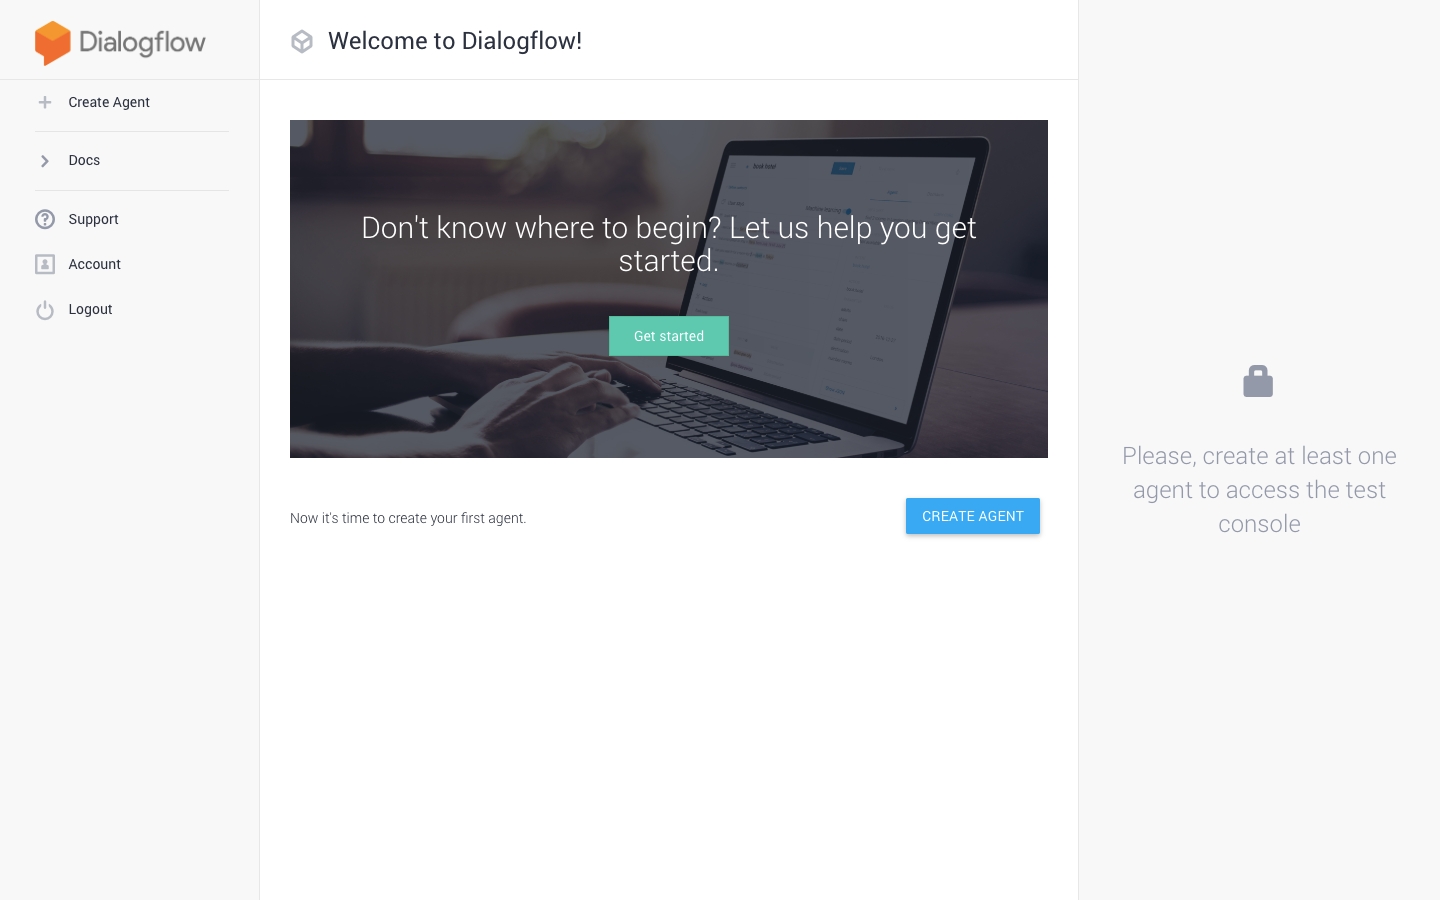
Once you log in to the dashboard, you can see your existing agents as well as an option to add new agents on the left navigation menu.
If you do not have an existing agent that you would like to use, go ahead and click on "Create Agent" to create a new agent.
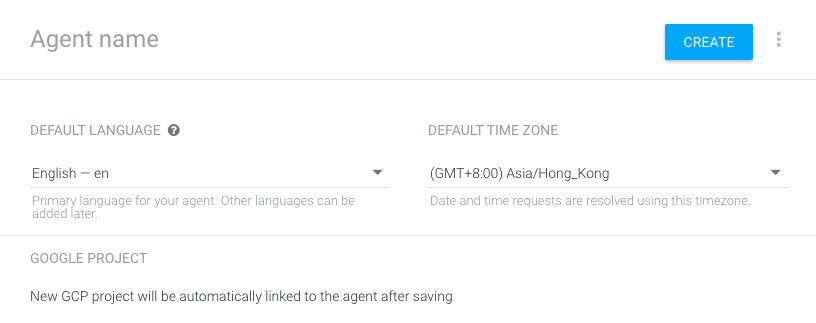
You will have to give your new Dialogflow agent a name. Note that this will only be used internally on Dialogflow and will not be seen publicly.
You can also select the main language that you will be using. Choose the language of your target audience. This will be used for Dialogflow's natural language processes. Other languages can be added later.
Select a timezone for your Dialogflow agent. It will be will be used for analytics purposes on Dialogflow.
Note that a new Google Cloud Project will be automatically created to the Dialogflow Agent when created. This will be used to connect your Agent to YesHello.
Once you are done filling in the information, select the blue "Create" button on the top right.
Connecting to Dialogflow
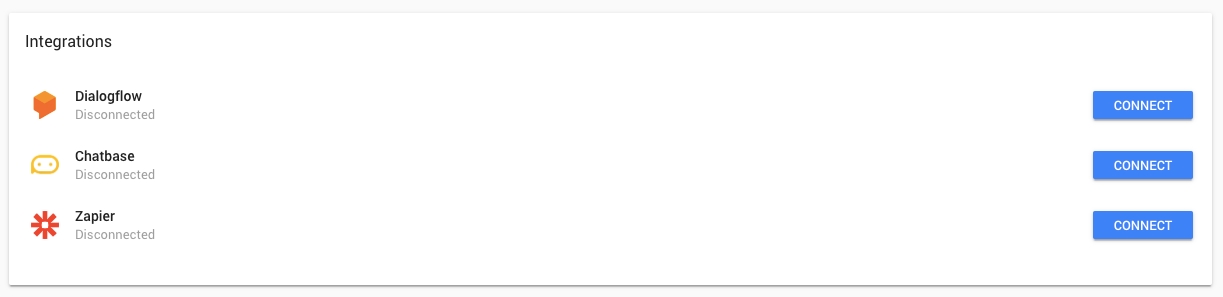
On the YesHello Platform, navigate to the Settings Module and scroll down to the Integrations section.
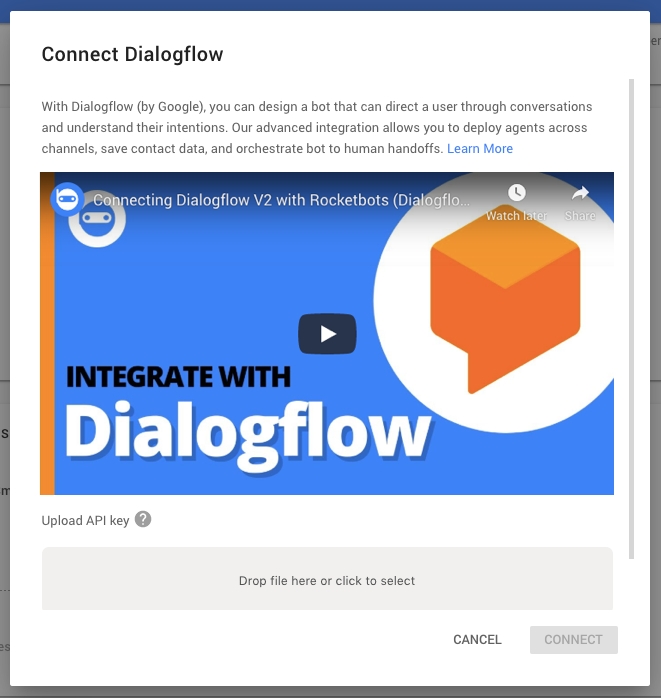
Press the blue "Connect" button next to the Dialogflow integration. This should open the Connect Dialogflow menu.
In order to integrate with your Dialogflow agent, you will have to retrieve the API key.
Getting the Account Key
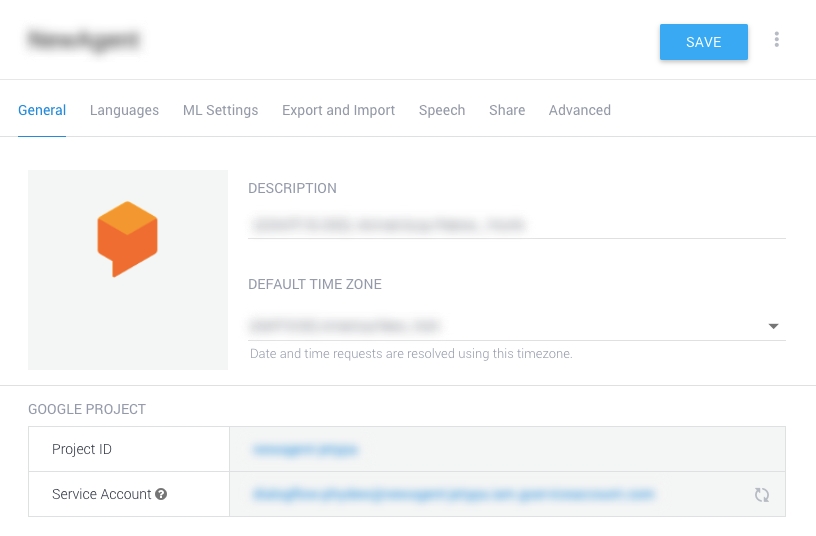
On the Dialogflow dashboard, navigate to the Agent Settings by pressing the gear icon button on the left navigation panel. Make sure you have the agent you wish to connect selected.
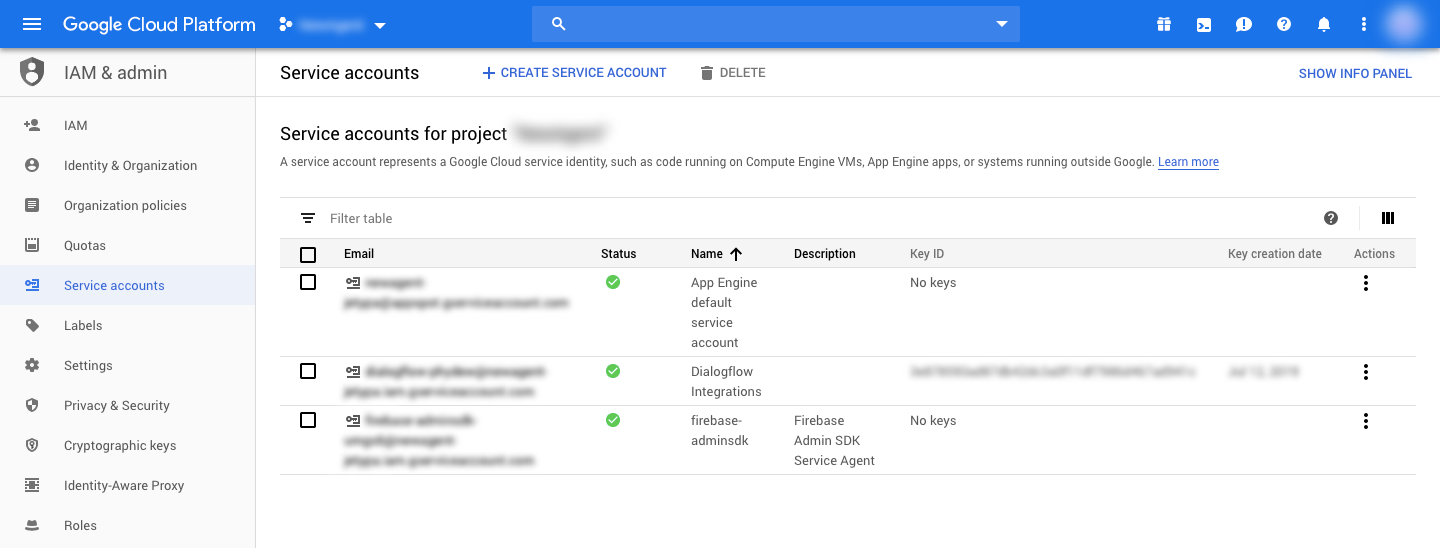
From this page, click on the Service Account link under the Google Project section. This will open up a list of service accounts for your Agent's Google Cloud Project on the Google Cloud Platform.
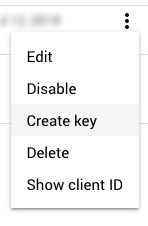
Look for the entry with the name "Dialogflow Integrations" and press the Actions button on the far right of the table. Look for the three vertical dots.
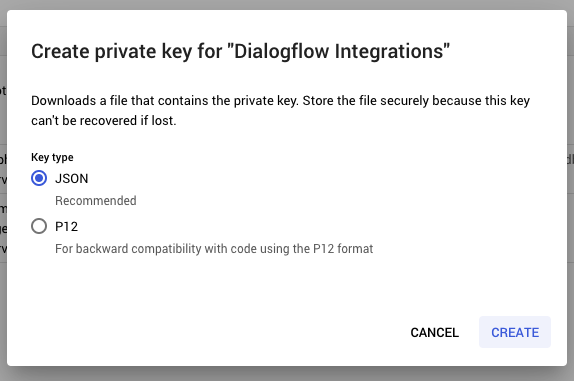
Under the dropdown menu, select the "Create key" option. This should open up a menu where you can create a private key.
Make sure the JSON key type is selected and press the blue "Create" button. Your computer should begin downloading the key as a JSON file.
When the download has completed, go back to the YesHello Platform and upload the API key JSON file in the Connect Dialogflow menu.
Once the file has been uploaded, press the blue "Connect" button to finish your integration.
Your Dialogflow Agent is now connected to the YesHello Platform. Your Agent will now respond to messages received from any of the channels on your YesHello Space.
To learn more about the advanced functionalities of the Dialogflow + YesHello integration, you can take a look at the following page:
pageDialogflow ParametersLast updated