Chat Menus
Create persistent menus.
A chat menu can be set on some channels, such as Messenger and WeChat, to help people discover and more easily access your functionality throughout the conversation.
The persistent Chat Menu is always available to the contact. This menu facilitates your audience to discover more content, visit websites, etc. It will automatically appear in a thread if the person has been away for a certain period of time and returns.
Creating a Chat Menu
Step 1: Navigate to Settings Module > Channel Settings To create a chat menu for channels that support them, navigate to the Settings Module on the respond.io platform using the side navigation bar.
Under the Settings Module, scroll down to the Channel Settings section.
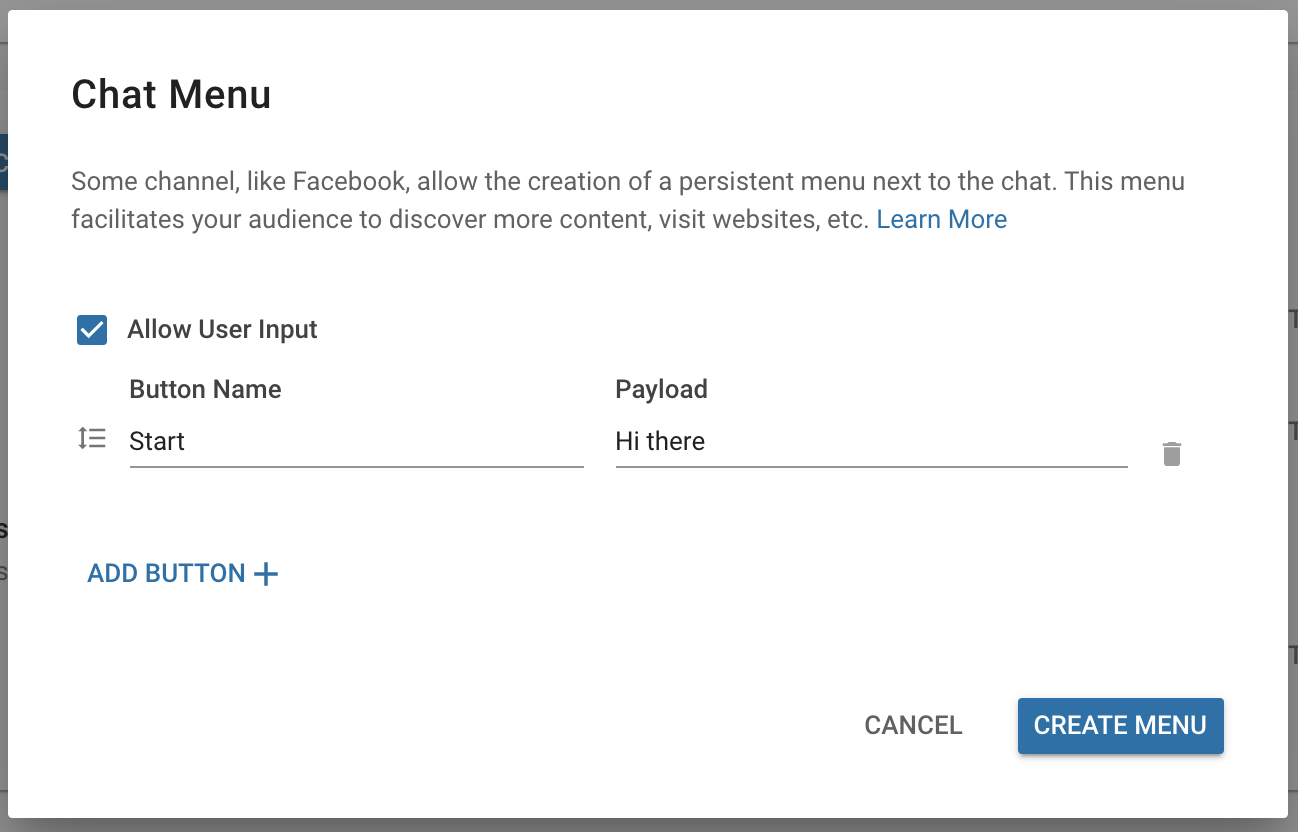
Step 2: Select MENU option If your channel supports the Chat Menu feature, it will have a MENU button for customizing your chat menu. Press this button to open the Chat Menu dialog
Step 3: Adding a menu option To add a menu option, you need to press the ADD BUTTON and select the appropriate button type. A dropdown menu will appear for you to select which type of button you want.
Button Type | Description |
Payload | A payload button will directly send a message with the button name as the message text. On the YesHello Platform, the specified payload value will be received instead. The payload value is useful for creating specific Triggers for Automations. |
URL | A URL button will send the contact to the site specified by the "URL" field when pressed. The webpage will be opened in a new tab. |
Submenu | A submenu button leads to a list of additional buttons. The submenu cannot be left empty. |
Please take note that some channels limit the number of buttons that can be displayed. Once the limit for the selected channel has been reached, you will no longer be able to add more buttons.
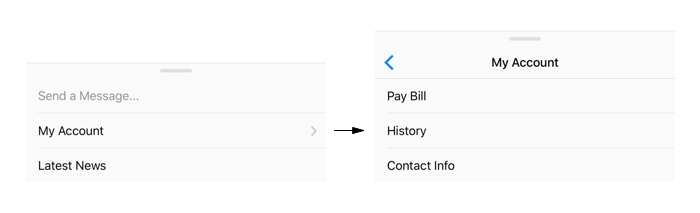
Step 4: Add submenu options **This step is optional
Submenus are useful for when you want to have more buttons in your Chat Menu. Submenus help keep your Chat Menu organized and easy to navigate
Simply create a submenu by pressing ADD BUTTON and select Submenu option
Take note that submenus cannot be left empty and it has to have a value!
Facebook has deprecated submenus and their Messenger app may stop supporting them in the future.
Step 5: Allowing User Input
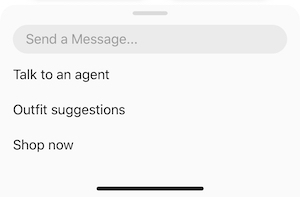
On some channels, you have an option to disable user input. If you wish to restrict users to only using the chat menu options to interact, you can do this by unchecking the Allow User Input option.
Unchecking this option will remove the chat message bar and prevents your audience from composing and sending their own messages.
It is recommended that you keep "Allow User Input" turned on, as disabling it restricts interaction with your audience.
Note that many channels limit the number of buttons that can be displayed (e.g. Facebook Messenger has a limit of 3 buttons and a limit of 5 within submenus).
Once the limit for your specific channel has been reached, you will no longer be able to add more buttons
Last updated