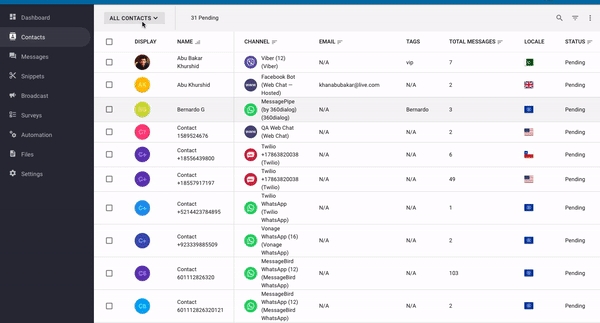
Views
You can use views to filter the contacts and reuse the views whenever needed.
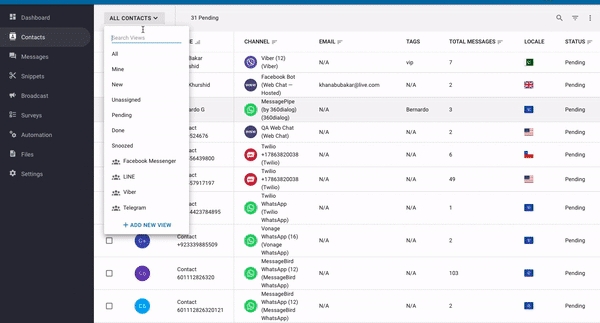
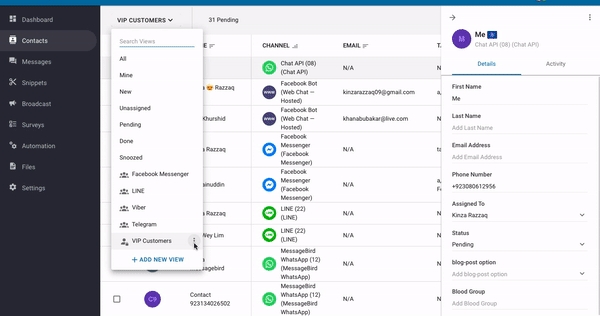
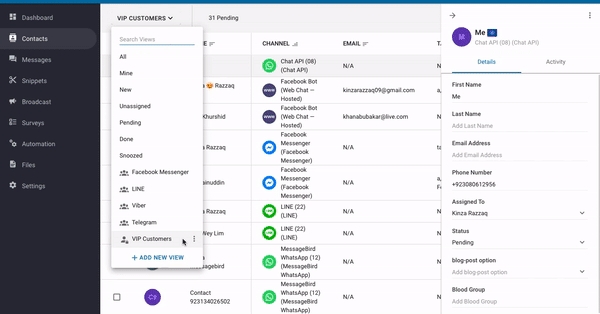
You can check on the views by pressing the 'View Selector' and all the views added and shared with you will be listed in the View Selector.
YesHello provides a set of default views to view your contacts. It is available for use to all the users of the Space.
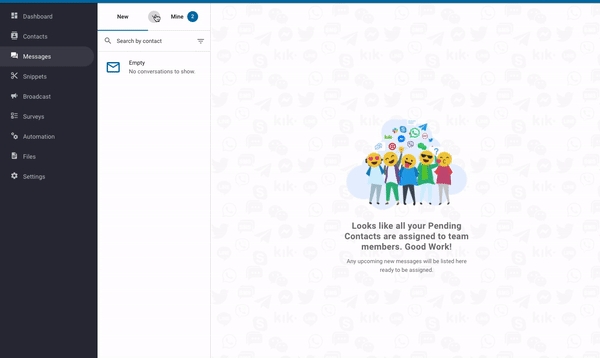
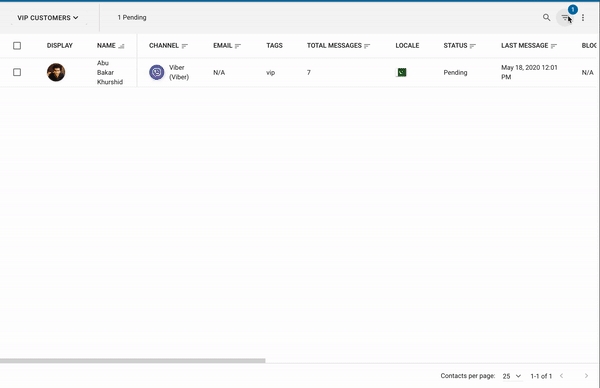
View Selector
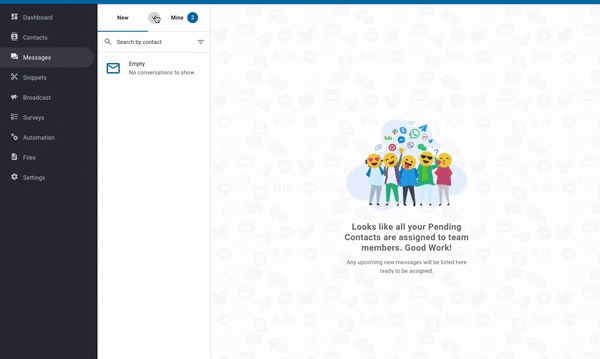
The View Selector is available at two locations, Contacts and Messages. You will be able to see a list of preset views and custom views in the selector.
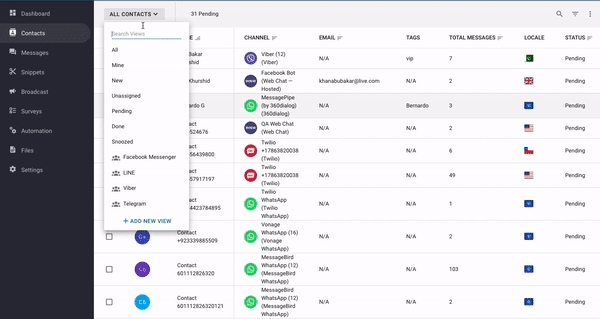
Adding a view
If the default views do not achieve your filtering needs, you can add new views to the space and reuse it when necessary.
1. Navigate to any View Selector 2. Select 'ADD NEW VIEW' 3. Fill in a name for the new view
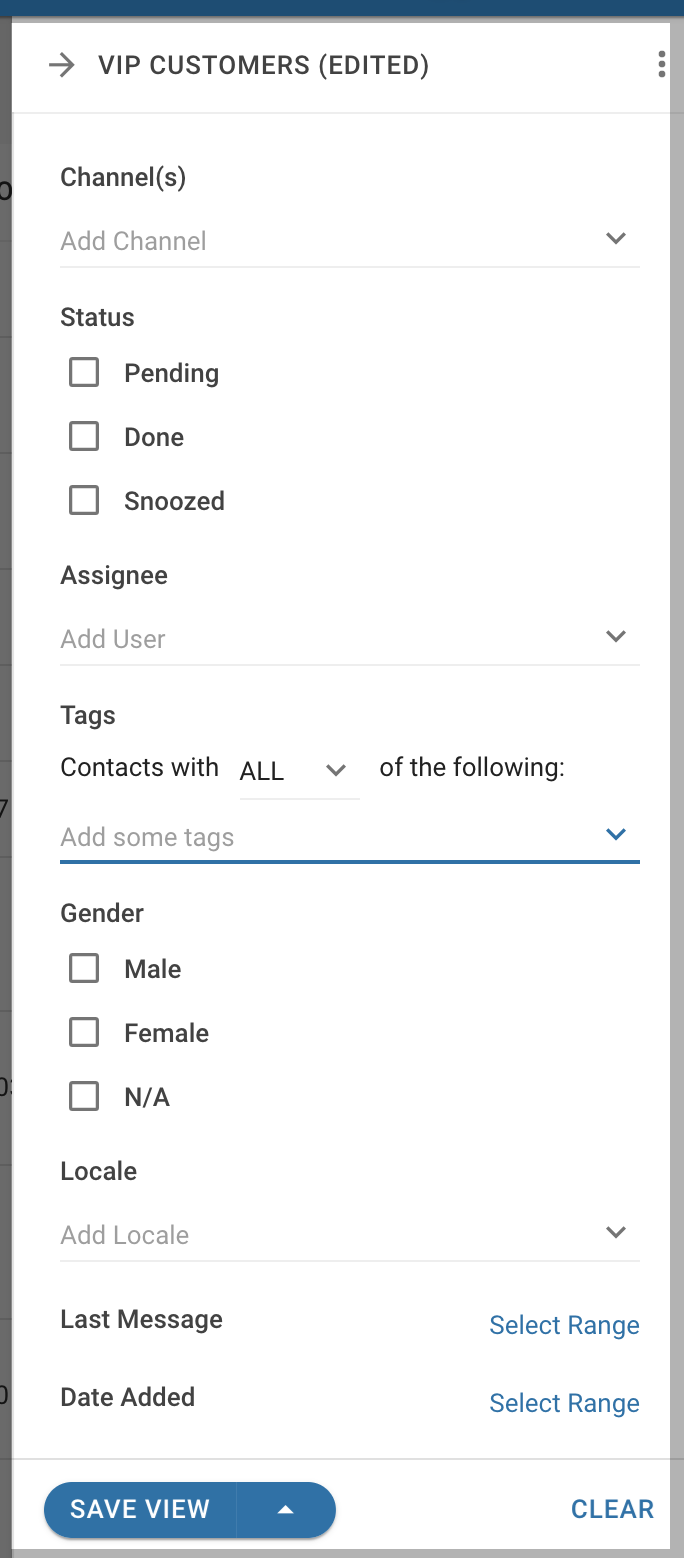
4. Specify the filters to be applied on this view
Filtering option | Type | Description |
Channel | Multi select | In which channel the contact originated form |
Status | Checkbox | In which status the contact is currently in |
Assignee | Multi select | In which users the contact is assigned to |
Tags | Multi select | In which tags the contacts are tagged with |
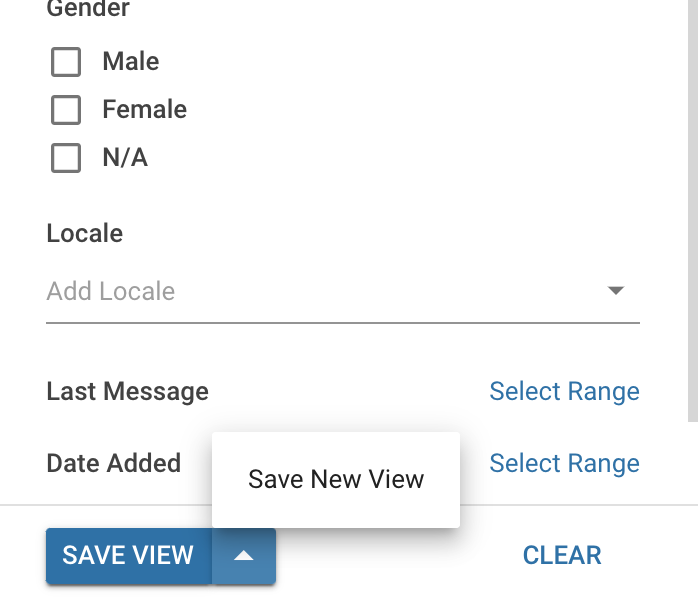
Gender | Checkbox | In which gender the contact is |
Locale | Multi select | In which locale the contact initiated with |
Last Message | Date range | In which date the contact's last message time |
Date Added | Date range | In which date the contact was added |
5. Review the options and press 'SAVE VIEW' to save the filters to the new view
By default, newly created views are only accessible by creators. Creators may share share the views with their team or other users of the Space.
Sharing a view
You can share the views you added to other users or teams in the Space. Views can be shared in 3 different settings :-
Share settings | Description | |
Private | The view can only be accessed by the creator | |
Public | The view can be accessed by all users in the Space | |
Shared | The view can be accessed by specific users or team |
3. Select which share setting you prefer. If you select 'Shared', please fill in the list of users or teams you would like to share with. 4. Review the settings and press 'SAVE' when you are ready.
When a view is shared, it can be shared with multiple users, multiple teams or a combination of both.
Editing a View
Any saved View on the platform can be edited either by changing its name or the Filtering options.
1. Select the View to be edited from the View Selector.
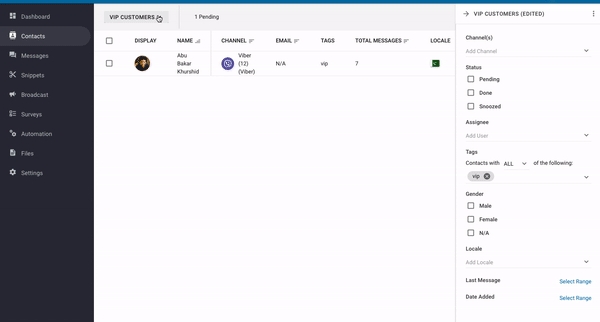
3. Change any of the Filtering options and you will see the name of the view has "Edited" appended at the end of the View name.
4. Once you are done with the Filtering options, either save the edited View by pressing "SAVE VIEW" button at the bottom or press the drop up button to save as a new View.
5. If you wish to save it as a new view, give a name to your new View and press the "SAVE" button.
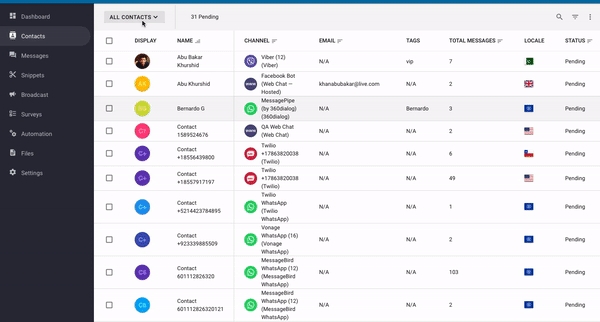
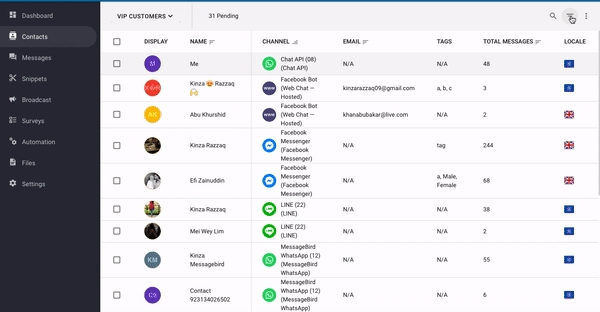
Use Views to organize your contacts into groups. To look at your different Views, use dropdown on the top left of the Contacts page.
Renaming a View
Views saved on the platform can be renamed if needed.
4. Give a new name to the View selected and press the blue "SAVE" button to save the new name.
Deleting a View
Views saved on the platform can be deleted if they are no longer needed.
3. Press the red "DELETE" button to confirm delete View.
Only Saved Views can be edited, renamed and deleted. Preset Views e.g. Pending will not have the option to edit, rename or delete.
Last updated