Website Chat Widget
Add the YesHello Web Chat Widget to your site.
The Web Chat Widget allows website visitors to contact you via live chat or through other Messaging Channels you have connected.
Connecting Web Chat Widget
1. Navigate to Settings > Add Channel > Web Chat.
2. Add website(s) where the Widget will be added.
3. Select a Theme Color for the Widget via interactive color picker.
4. Select an Icon for the Widget.
Widget can be further customized once connected.
5. Press Next.
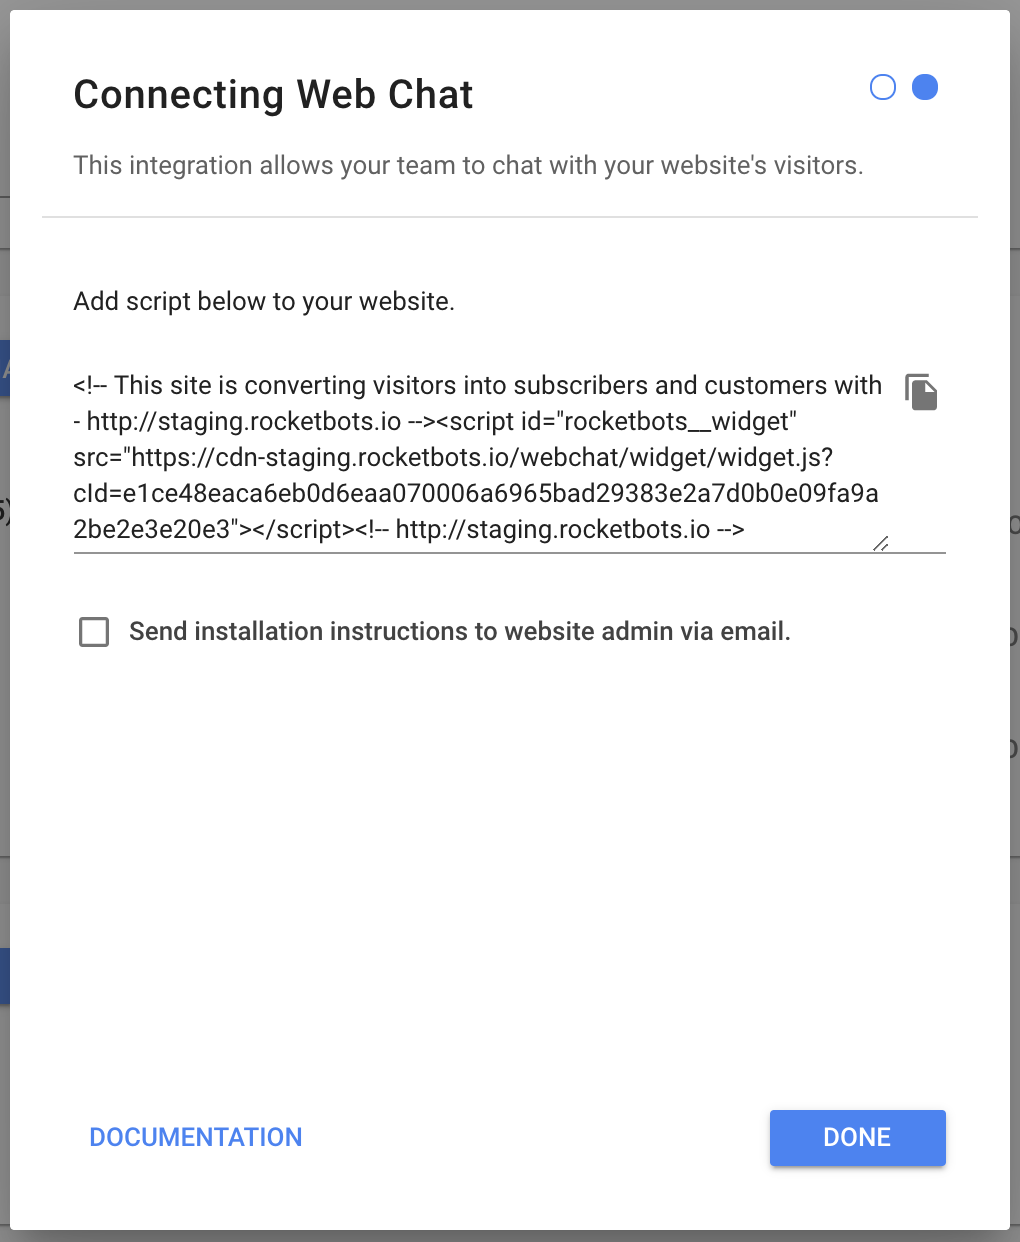
6. Add the script provided into your website.
Alternatively, you can send the instructions to someone else.
Installing the Chat Widget
You will have to copy and paste the code just before the end of the <body> section on the backend of your website.
Depending on what system you use to create and manage your website, we have created step by step guides to walk you through installing a Chat Widget onto your website.
pageInstall on WordPresspageInstall on ShopifypageInstall on WixpageInstall on SquarespaceIf you wish, you can also simply forward the code snippet along with installation instructions to your website administrator. Select the respective checkbox and enter the email address of someone who can help you install the chat plugin.
Once you have copied the code or filled out the email address, press the blue "Done" button to close the menu.
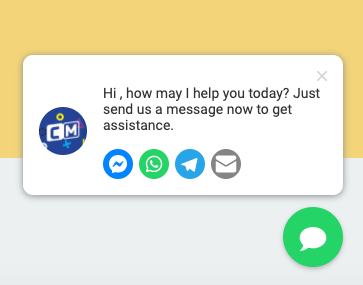
The YesHello Web Chat Widget will appear on your site once the script has been successfully installed.
Customize the Chat Widget
1. Navigate to YesHello Settings > Channel Settings.
2. Find the Web Chat channel to customize the widget.
3. Press the Customize button for the Web Chat.
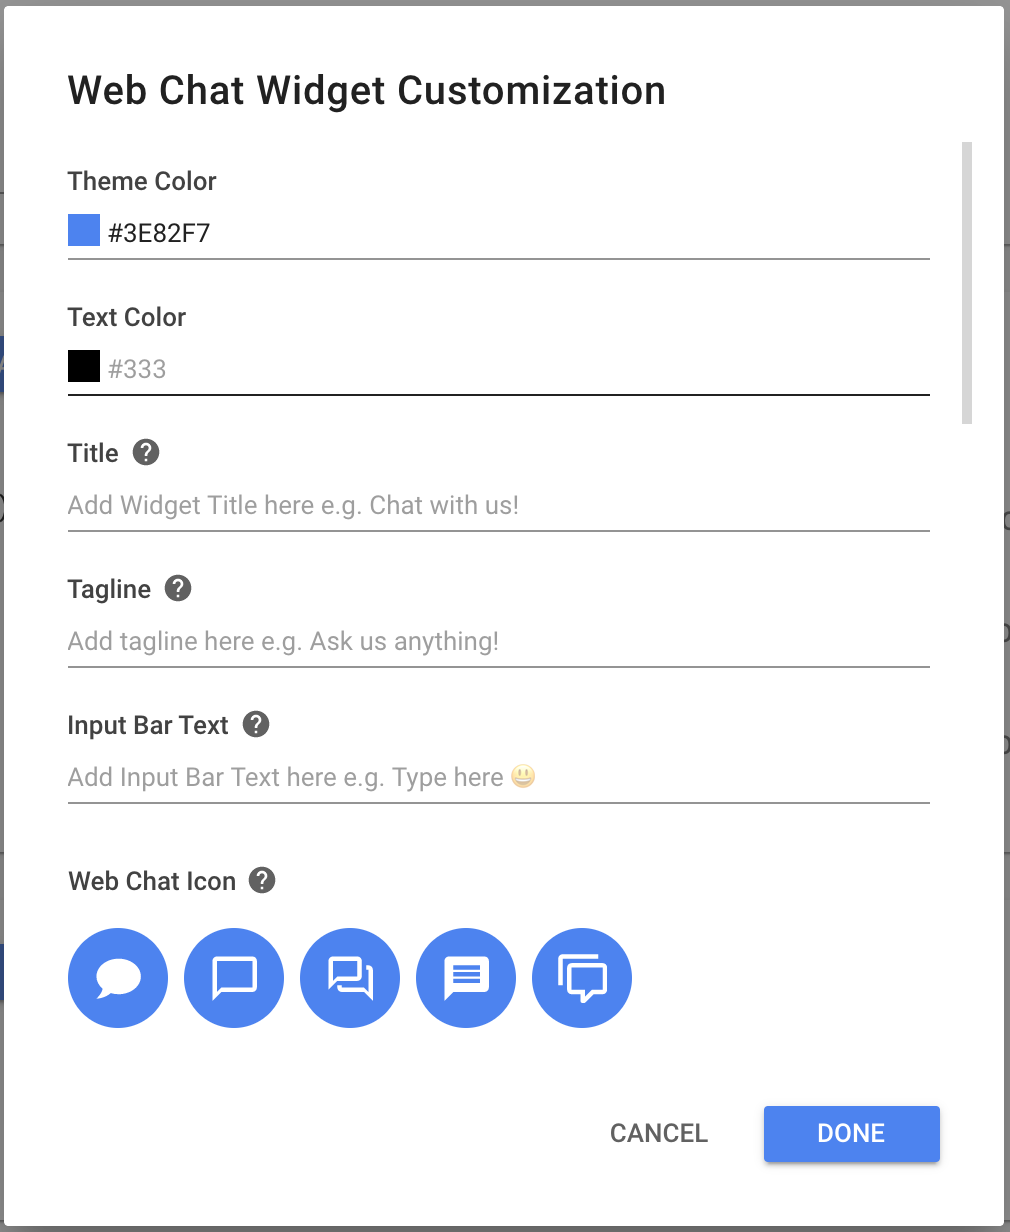
You can use the fields below to customize the Web Widget for your Language.
Theme Color
The Theme Color will show as the color of your Chat Bubble as well as the Top of your Web Chat when Web Chat is open.
Text Color
The Text Color will as the color of your text of your Chat Bubble.
Title
The Title field will be displayed across the top bar of the Website Chat Widget.
Tagline
The Tagline field will be displayed under the Title.
Input Bar Text
The Input Bar Text will be shown in gray in the message bar as a placeholder.
Web Chat Icon
In the Web Chat Icon field, you can change what icon will be displayed in the circular chat button.
Widget Position
Widget Position allows the Widget Icon to be on the left or the right of the platform.
Widget Channel Links
This option allows the addition of up to six Channel Links as options for your Website Visitors to press at the top of the Web Chat. Every channel you added to this list will be shown at the top of the Web Chat Widget.
As the Channel Widget Links are independent of connected Channels on the platform, links; e.g. Phone Call or Email can be added here in the widget too.
If the Web Chat Widget has never been configured before, Channels that are connected and having adequate information are listed by default by the platform as Widget Channel Links.
The Widget Channel Links can be edited by changing the Input Field of respective channel. They can also be sorted by pressing and holding the icon on the left side of the Input Field for each channel.
If needed, the channels too can removed by pressing the trash icon at the right side of the Input Field.
Press Add Channel to add more Channel Links in the Web Chat Widget.
Here is the list of Input Field required for each of the Channel Links supported.
Channel Links | Input Field Required |
WhatsApp Phone Number | |
Facebook Messenger | Facebook Page ID |
Telegram | Telegram Botname |
Twitter ID | |
LINE | LINE ID |
Viber | Viber Public Account Name |
SMS | SMS Phone Number |
Email Address | |
Phone Call | Phone Number |
Web Chat Logo
Drop your logo image here so it will show at the top of the Web Chat. The format can either be in PNG, SVG or JPG and file size is not more than 1.0 MB.
Show Greeting Message Pop Up
When this option is selected the YesHello Widget will pop up with your Greeting Message and chat options after 5 seconds.
Hide Widget Until Triggered By Anchor Reference
When using this option the widget will be completely hidden. Until a the Anchor Reference has been clicked.
Using the above anchor you can create a button on your page, to open the widget once clicked.
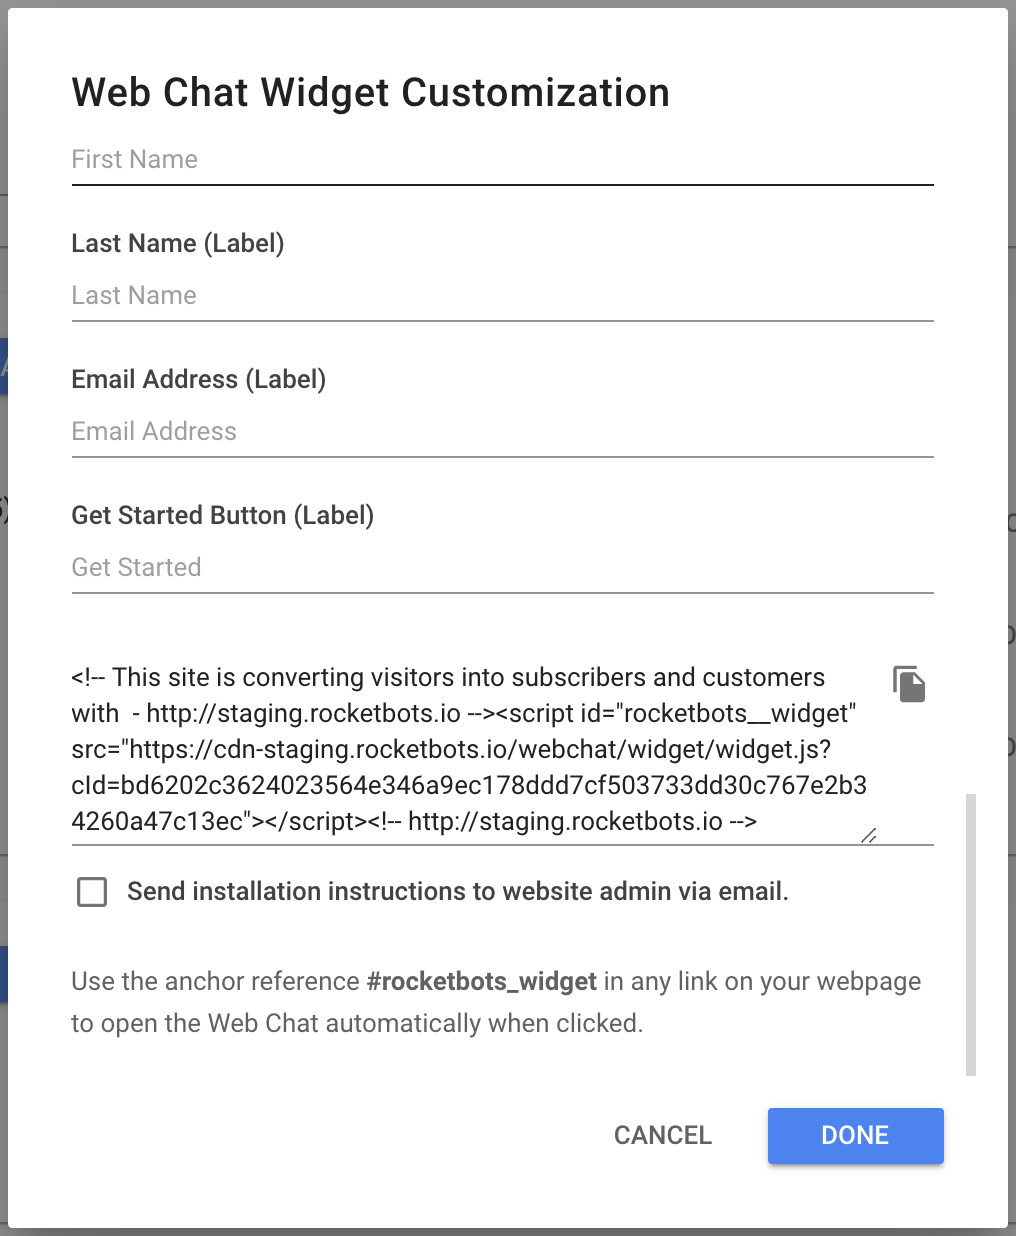
Pre-Chat Form
Enabling this option will add a pre chat form to your Web Chat. If enabled, your website visitor will not be able to chat until they fill out the form you have set up.
With this option enabled you can change items in the form by adding or removing Custom Fields to the form.
Below the option you may also change the field names so you can optimize the form for your own Language.
Scroll further down and there will be a script to be added into your website.
Any changes to your Web Chat Widget Customizations will be automatically reflected on your website. You do not need to reinstall the script.
Editing the Chat Widget
You can change and update the YesHello Web Chat Widget at any time. Navigate to the Settings Module and scroll down to the Manage Channels section. Press the blue "Edit" button next to the Web Chat channel.
Once you are happy with your changes, press the blue "Next" button. Here, you can find the script if you wish to add the plugin onto more websites.
You can go ahead and press the "Done" button if you do not need to install the widget onto more websites.
Any changes to your Facebook Customer Chat Plugin settings will be automatically reflected on your website. You do not need to reinstall the script.
Channel Name
Enter a suitable name for the new channel. Note that the Channel Name is private and will only be used within the YesHello Platform to identify this channel.
Greeting Message
You may enter an optional Greeting Message. This is the first message that will be sent to your Contact when they message you through the Web Chat. The Greeting Message will also show if you set your Web Chat to pop up after 5 seconds.
Theme Color And Text Color
Select a Theme color of your choice for your Website Chat Widget using the interactive color picker. The Theme Color will show as the color of your Chat Bubble as well as the Top of your Web Chat when Web Chat is open.
Website URL
Under the Website URL field, enter the URL of the website that you wish to install the widget on. If you do not add your website to this list, your widget will not load. You can enter multiple URLs if you plan on installing the plugin to multiple websites.
Troubleshoot
Still having trouble with the channel? Contact us here!
Last updated