Zapier
Connect YesHello to Zapier and unlock +2,500 integrations for your Contact Data.
We are thrilled to announce our Zapier integration! Now you can integrate your Contact Information from the YesHello platform to thousands of CRMs, email providers, CMS, analytics tools, ads, etc. Let's have a quick look at this integration.
Our Zapier App is currently on Beta, you can search for it on the Zapier integration page or click on the following link: https://zapier.com/developer/public-invite/20316/latest/
Getting Started
In order to get started with the YesHello - Zapier Integration, you will need the following:
A YesHello Account
A Zapier Account (Free)
Step 1: Create a Zap
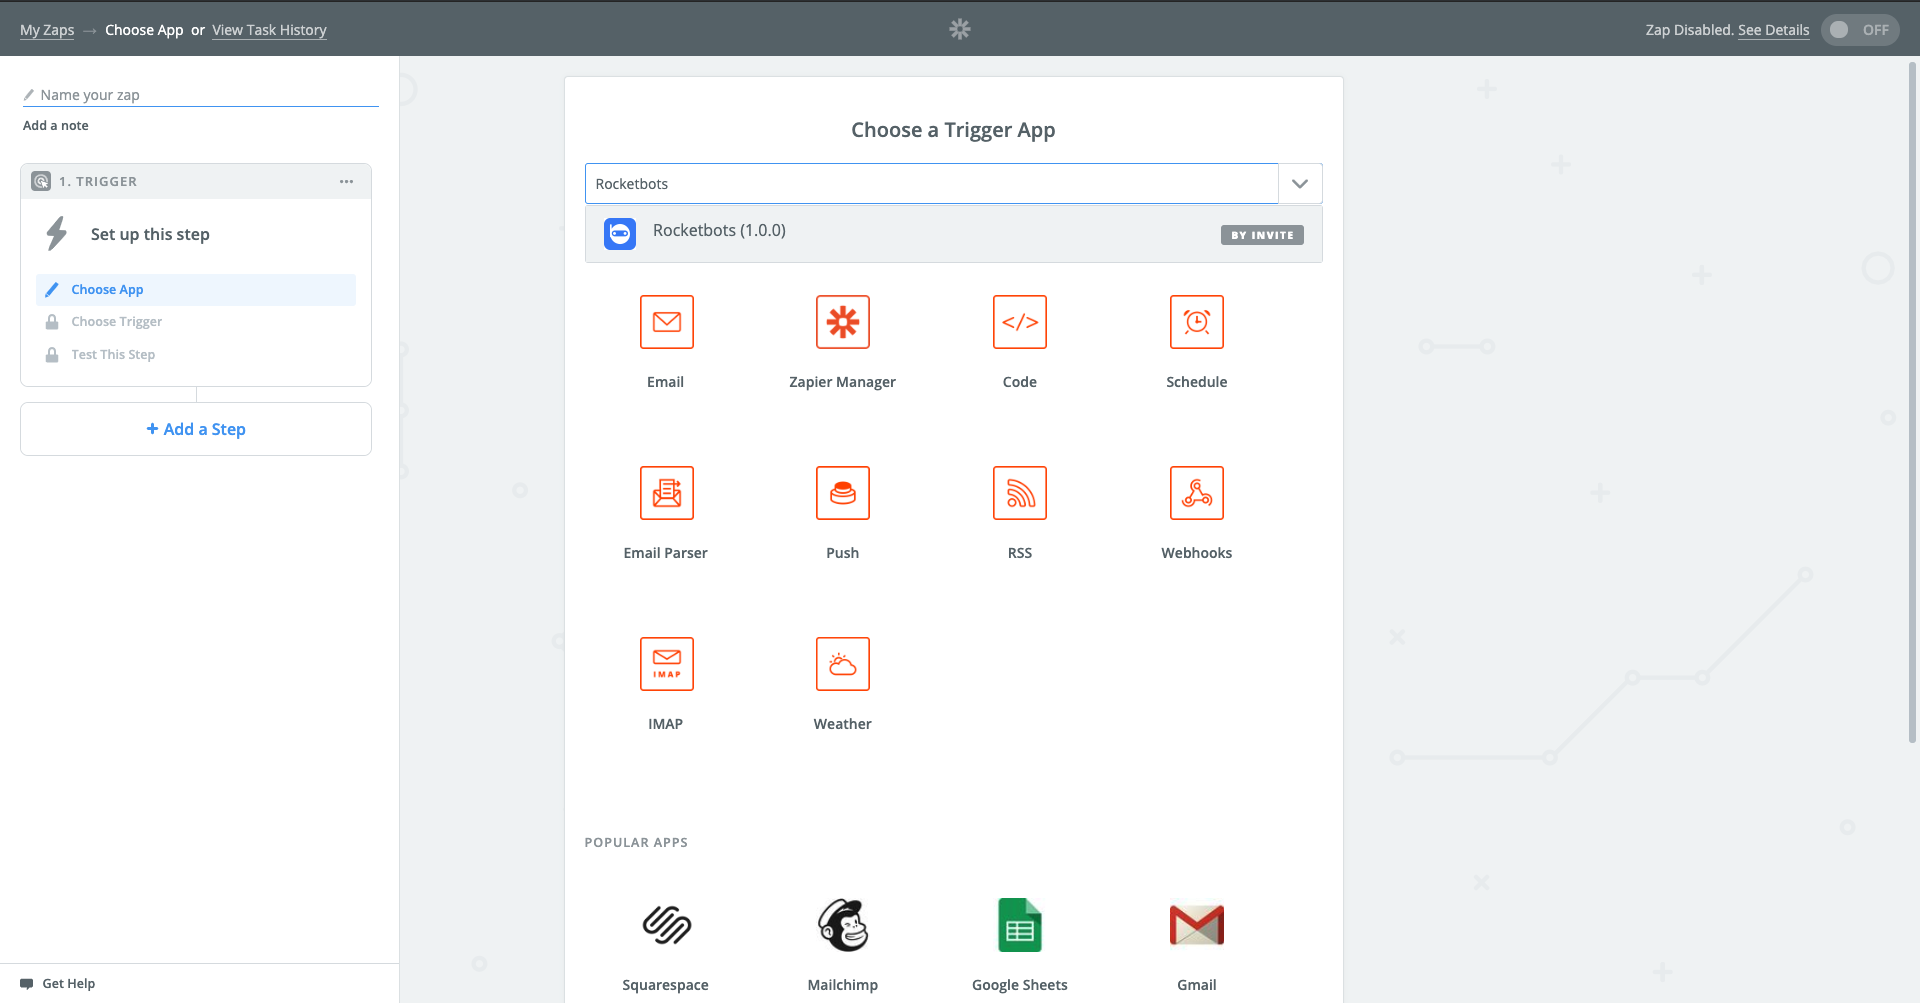
Log in to your Zapier Account and click on "Make Zap" and search "respond.io" from the list of Trigger Apps:
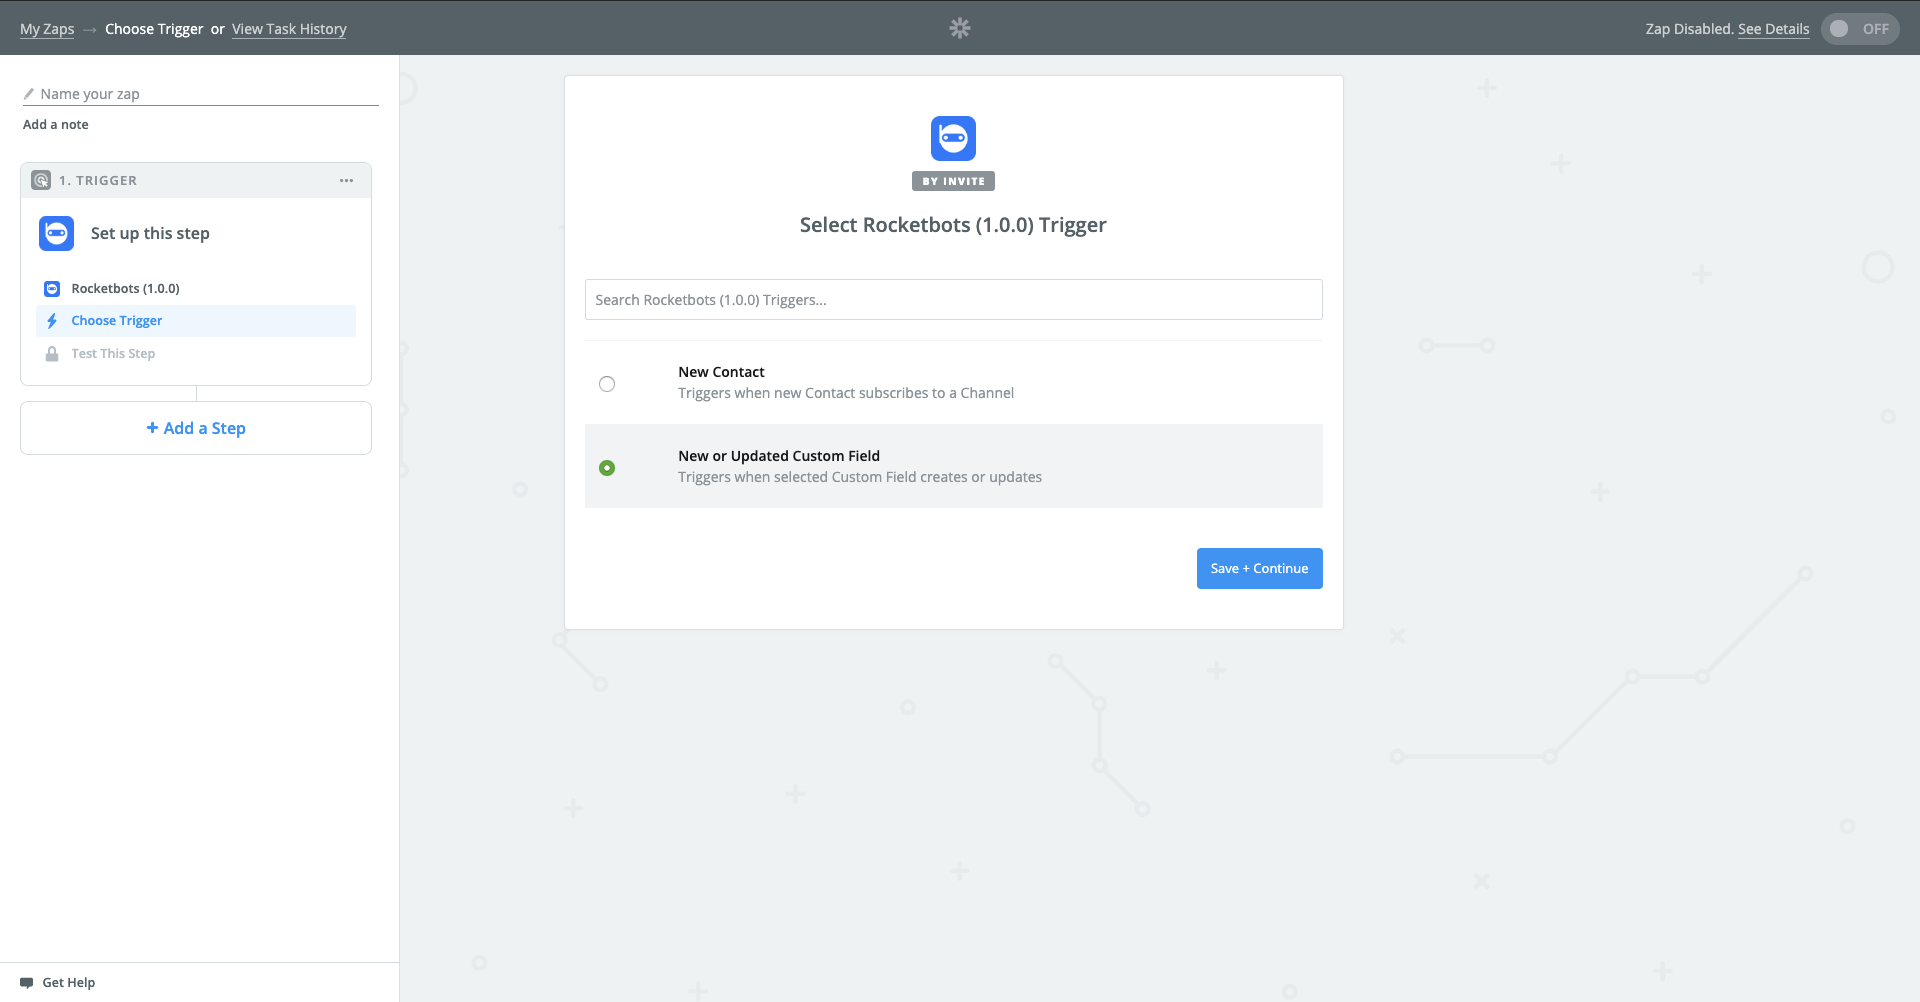
Step 2: Select a Trigger
The Trigger is event that will cause your Zap to activate. Currently we provide 2 types of Triggers:
New Contact: This Trigger will pass the information to Zapier when new contact is created. In other words, the first time a contact send you a message, we will call this Zapier integration. Example: When a new contact is created on YesHello, add this person's data to a Google Sheet.
New or Updated Custom Field: This Trigger will pass information to Zapier every time a custom field of your choice is changed (or added). This one is especially useful when you want to pass information to CRMs or any type of tools that requires a unique identifier (like email address). Example: When a email address is added to a YesHello contact, subscribe this person to a Mailchimp CRM list.
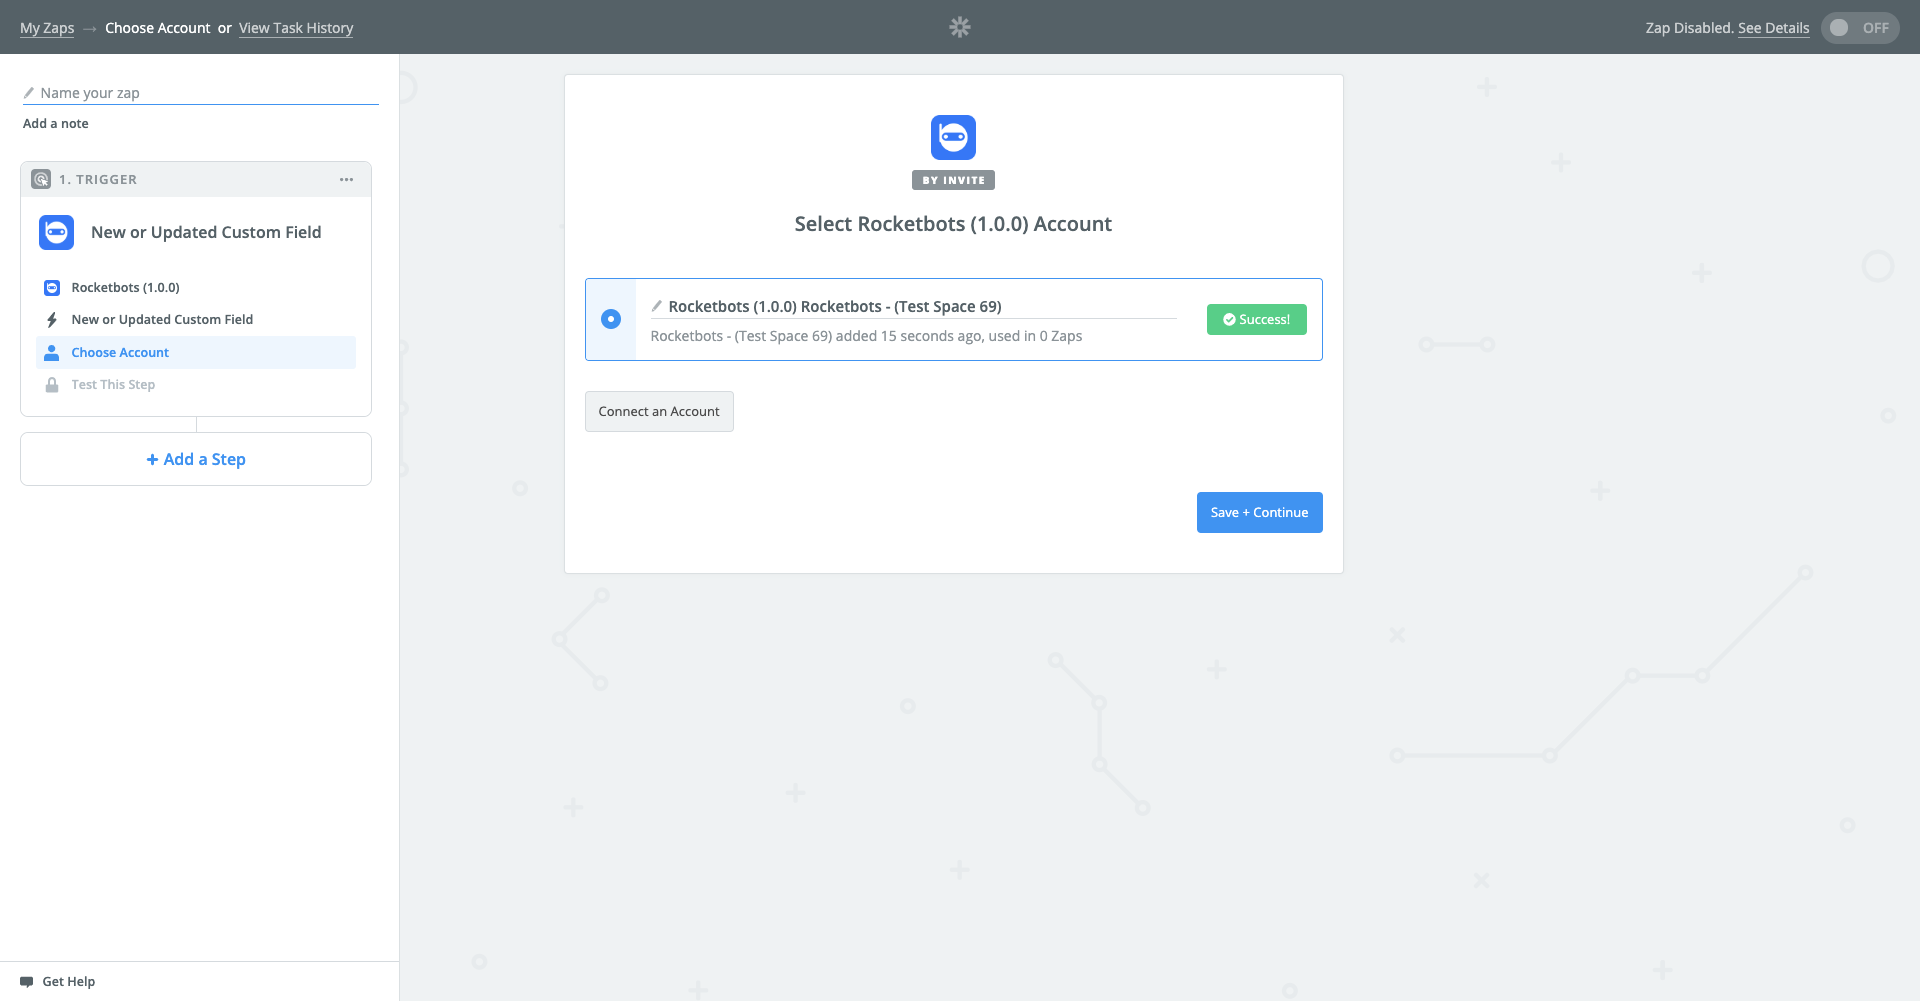
Step 3: Connect your YesHello Account
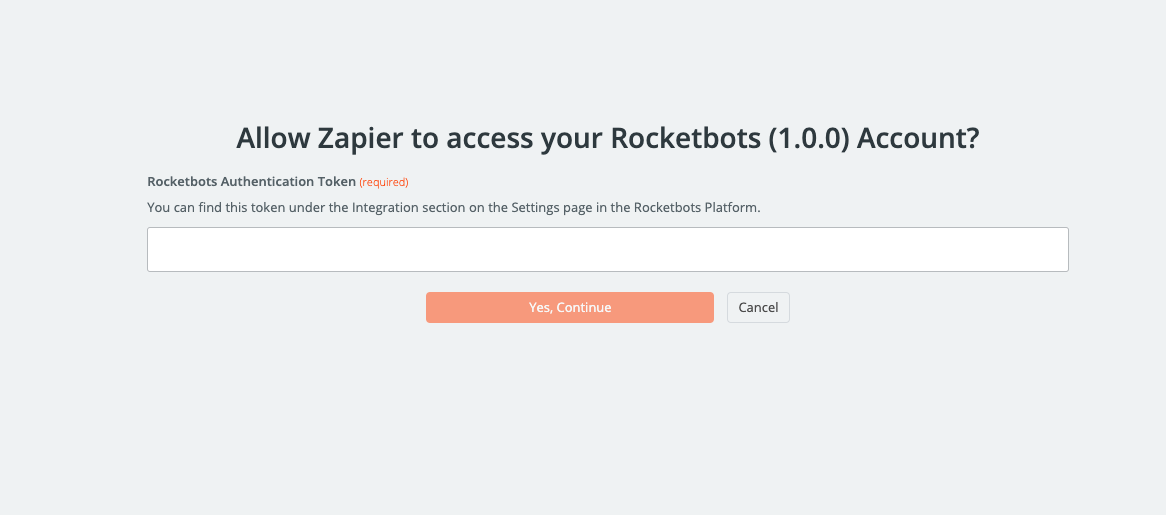
After you have selected a Trigger on Zapier, you will need Zapier to connect to your Space on YesHello. Click on "Connect an Account" to get to the following page on Zapier:
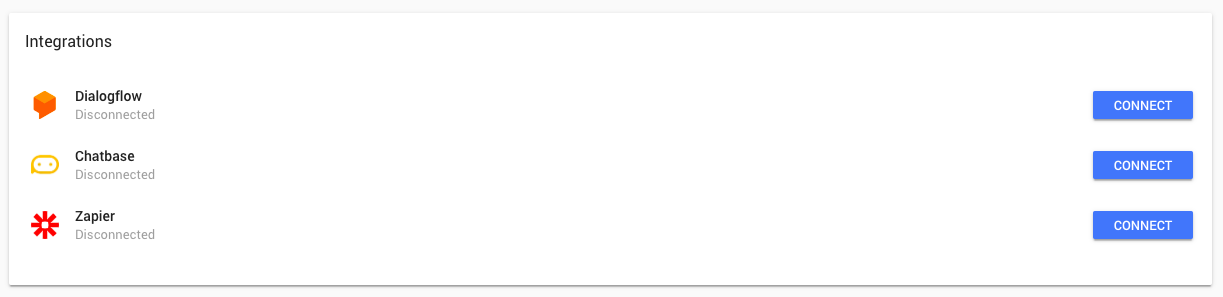
Log in to the YesHello Space you wish to connect and navigate to the Settings Module. Scroll down to the Integrations section.
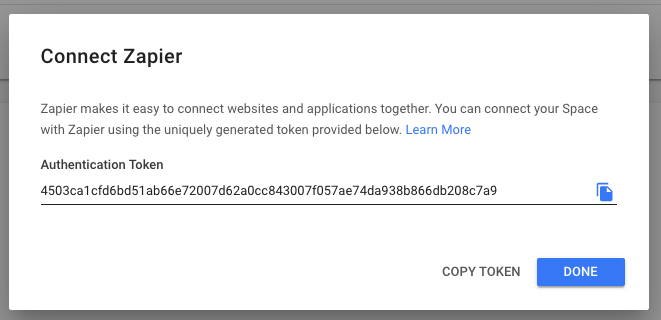
Click the blue "Connect" button next to Zapier and to open the Connect Zapier Dialog.
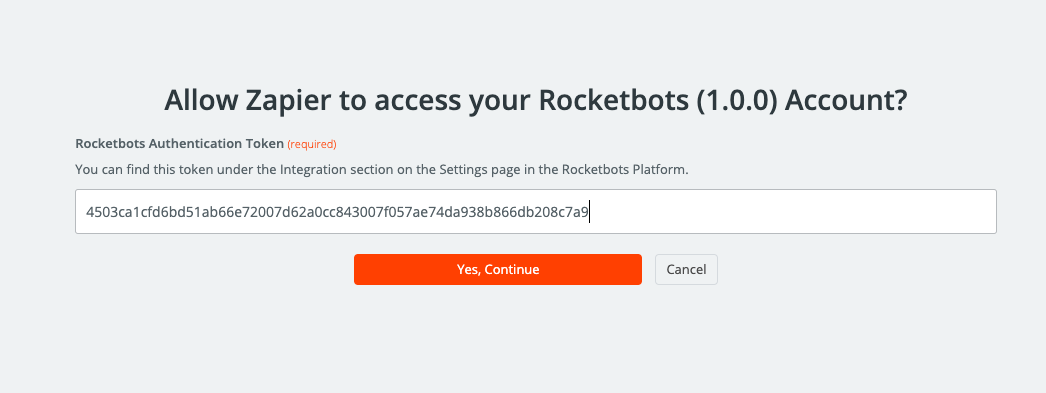
Copy the Authentication Token from YesHello and paste the token into Zapier.
Once you have pasted the Authentication Token into Zapier, press the "Yes, Continue" button.
Done! You have completed your YesHello - Zapier authentication!
After finishing the authentication, you may want to press the "Test" button to see if your integration is connected properly.
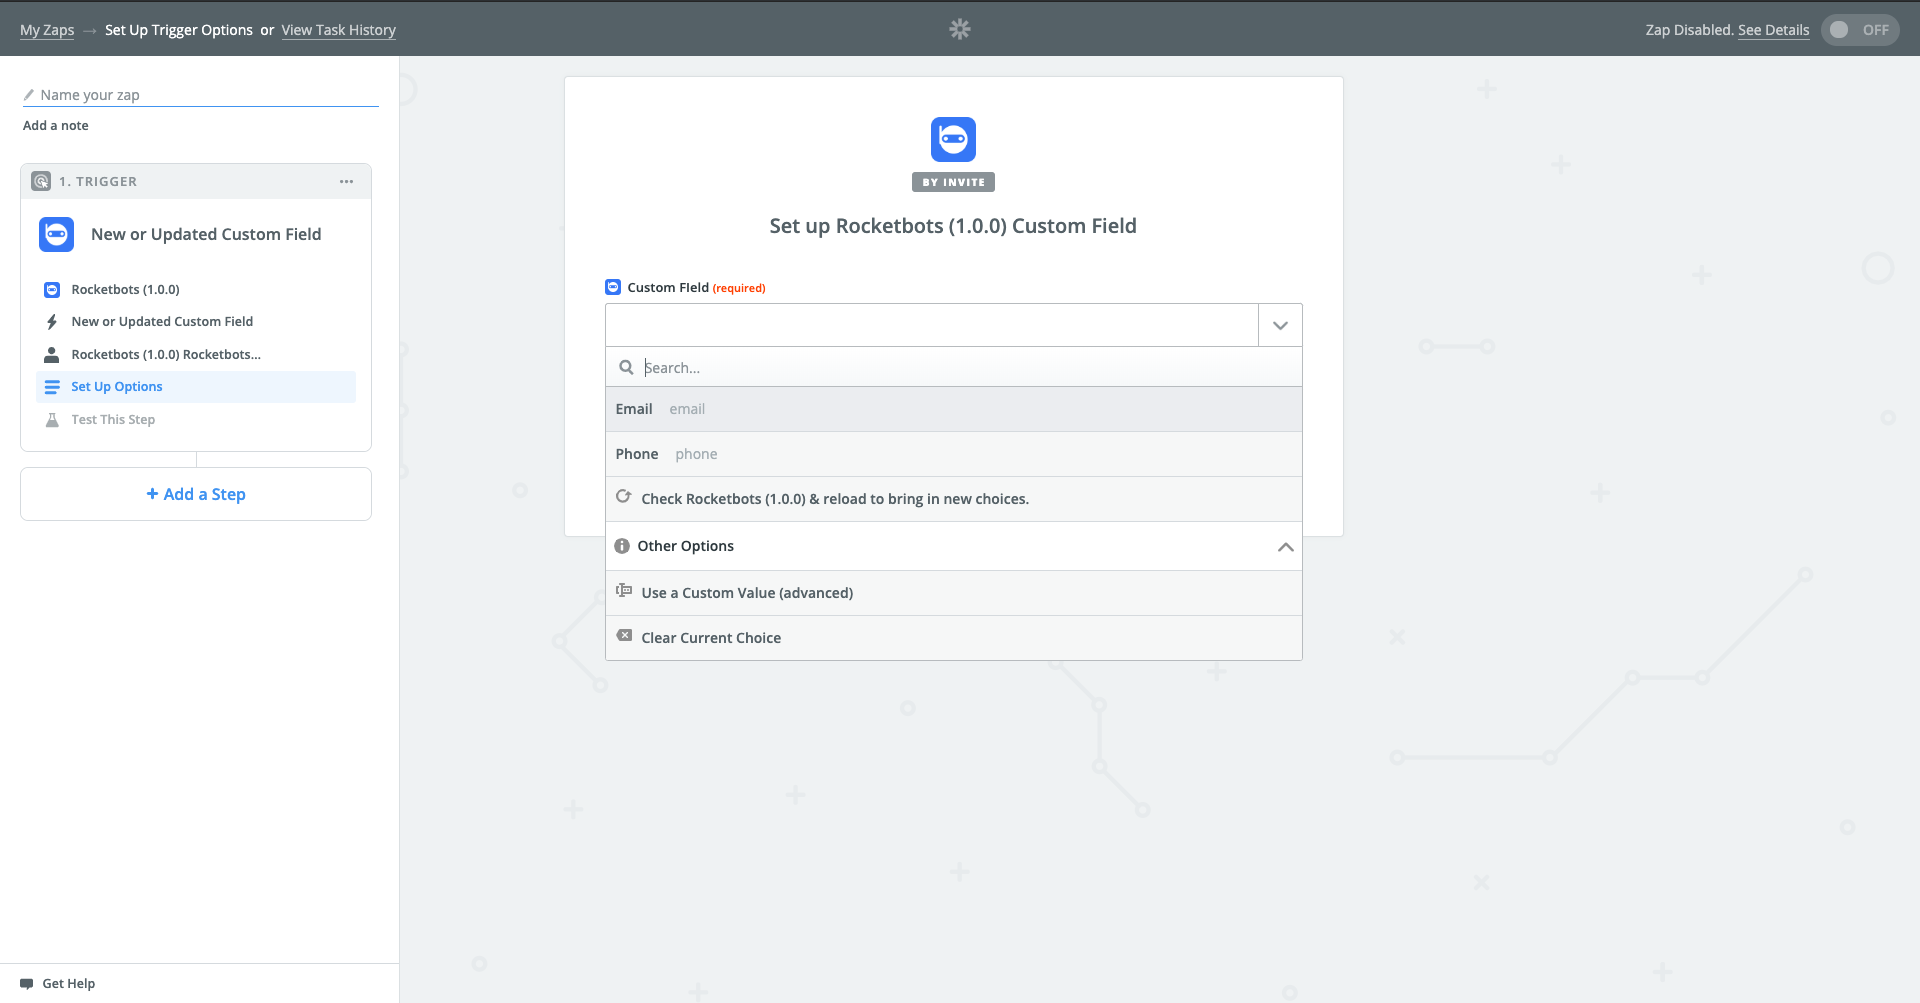
Step 4: Finishing your Zap's Trigger
If you selected the "New or Updated Custom Field" Trigger, you will need to specify which custom field will be triggering this integration. By default you will see "Email" and "Phone" in the dropdown list. If you have created other custom fields on YesHello, they will appear in this list too.
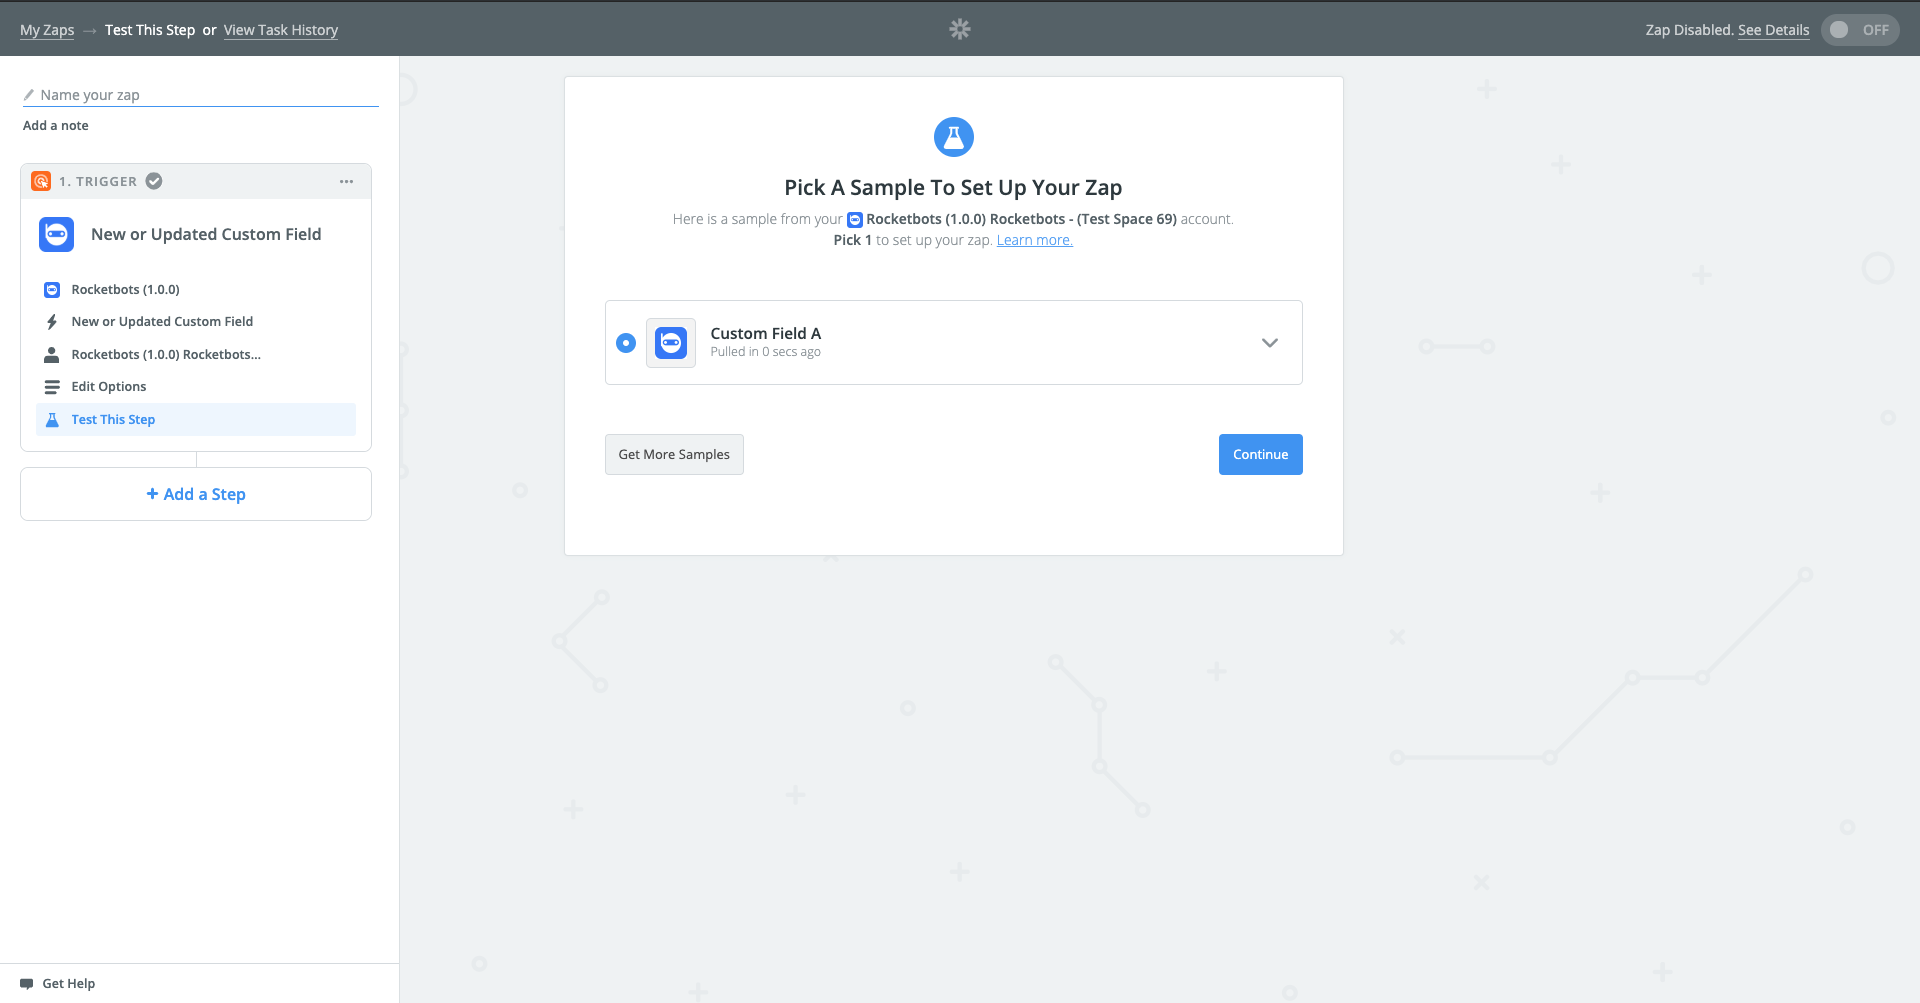
As the final step of the Zapier Trigger, you will see a sample of a YesHello contact. This gives you an idea of what type of information you can pass on to your Zapier Action.
Tip: If you can not see a custom field you have recently created you will need to click on "Get More Sample" on this page to refresh the contact data.
Done!
Now that you have chosen a trigger and authenticated your YesHello Space, all you need to do next is finish creating your Zap and your automation will start to run in real time.
Last updated