Snippets
Create prewritten responses to effortlessly reply to frequently asked questions.
Getting Here
This module is accessible by Owner and Manager only!
This module can be accessed from the side navigation menu under the menu item, Snippets.
The Snippets Module allows you to create standardized replies or canned responses that allows you to reply to frequently asked questions with a couple of keystrokes. Once you have created your snippets, you will be able to use them to quickly compose your replies in the Messages Module.
Using Snippets in Messages
When replying to contacts in the Messages Module, you can use prewritten snippets to quickly compose a response.
Step 1: Type a forward slash
Navigate to the contact you wish to respond and simply start to type forward slash in the messaging bar. You can continue to type the name of the snippet to search for a snippet. For example, you can start typing /greetings1 to search for a snippet named Greetings1.
Step 2: Select the desired snippet As you type, there are suggestions based on your query. Select the desired one and the message will be populated into the messaging bar.
Step 3: Review and send
Review the snippet content and make any necessary changes. Once all is good, you may send it to the contact.
Tips: Always review the content before sending it to make sure the content is relevant to what is intended.
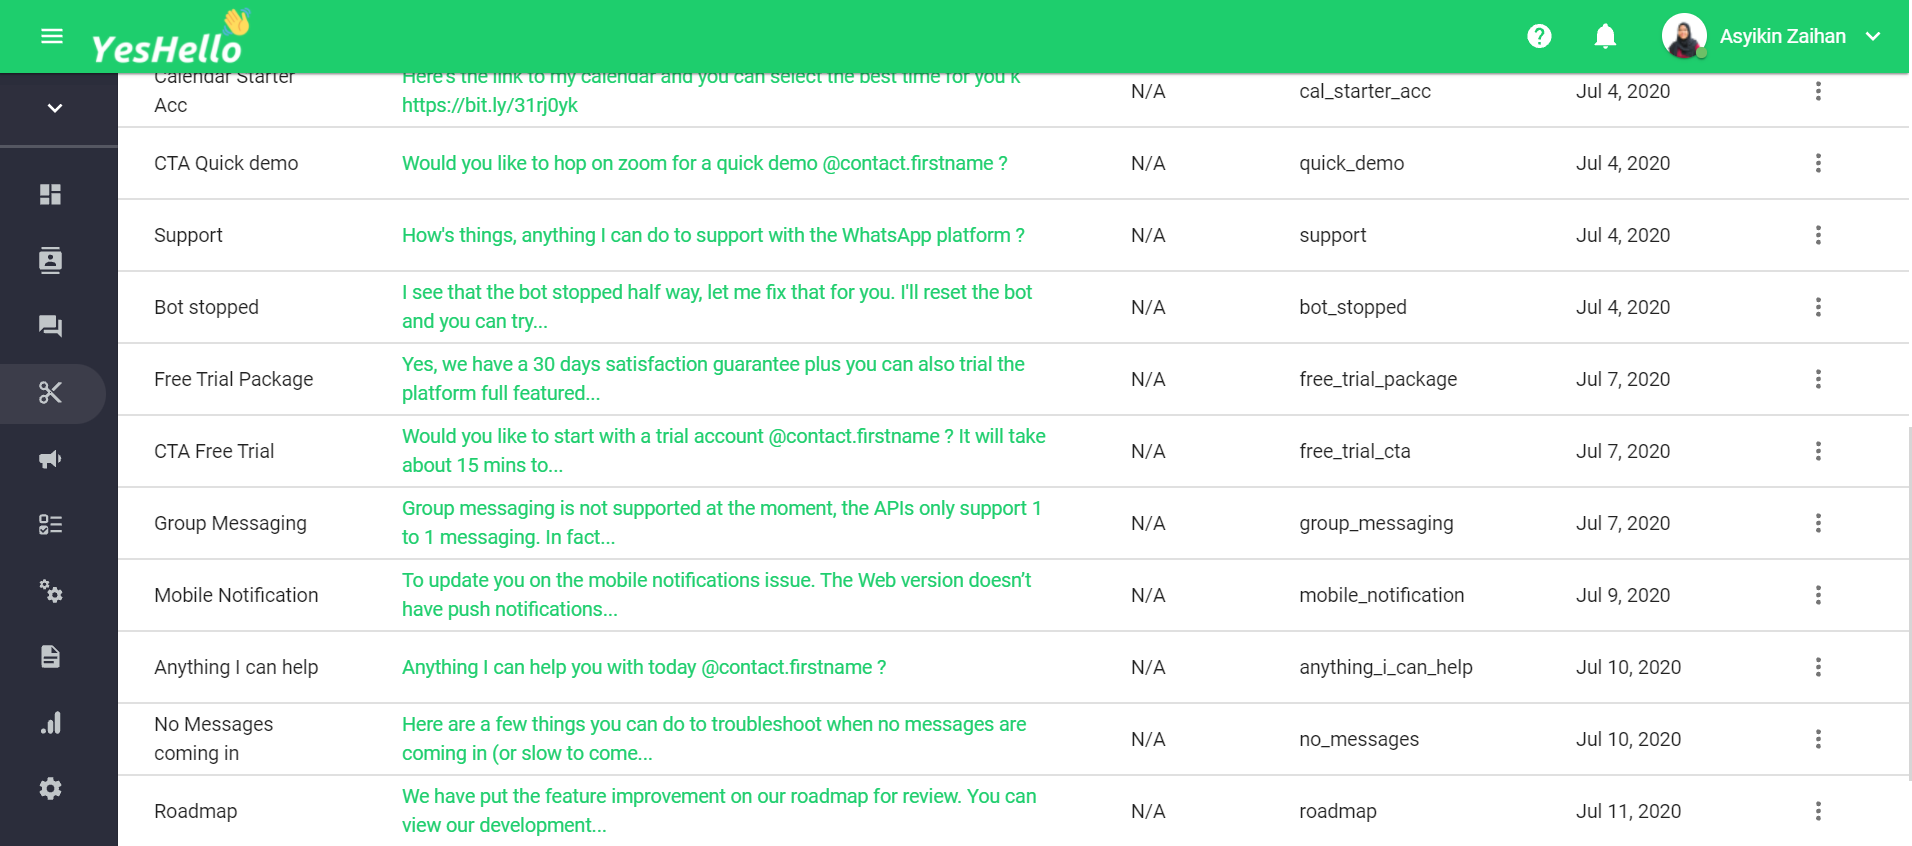
Snippets Overview
From this table, you can take a look at the existing Snippets on your Space.
You can use the search function at the top right to quickly find a specific Snippet by pressing on the icon button that resembles a magnifying glass.
Snippet Name and ID
The Snippet Name displays the human friendly name of each Snippet. The Snippet name will be used as the command when looking to input the Snippet text into your message.
Meanwhile, Snippet ID is the unique identifier that is automatically generated to label each Snippet in the system. The Snippet ID will be used for sending Snippets via integrations.
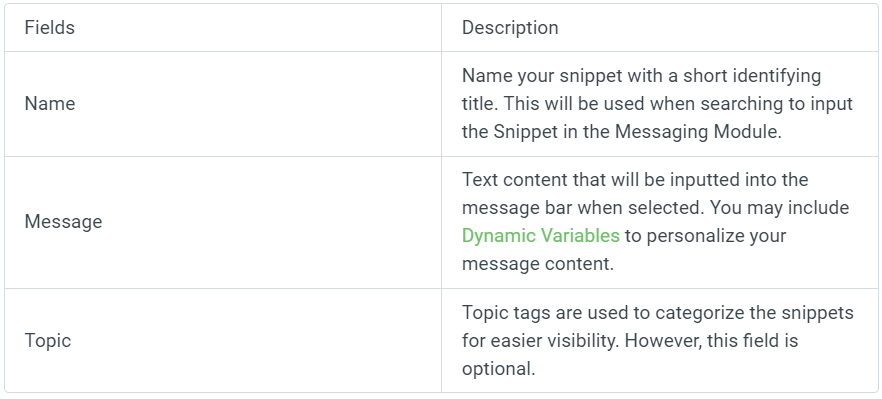
Message
The Snippet Message is the actual text content that is inputted when using the Snippet.
Topic
The Snippet Topics are tags that help you organize your Snippets. Snippets can be tagged with multiple Topics.
Use Topics to organize your Snippets into groups. To view Snippets in your different Topics, use dropdown on the top left of the Snippets page.
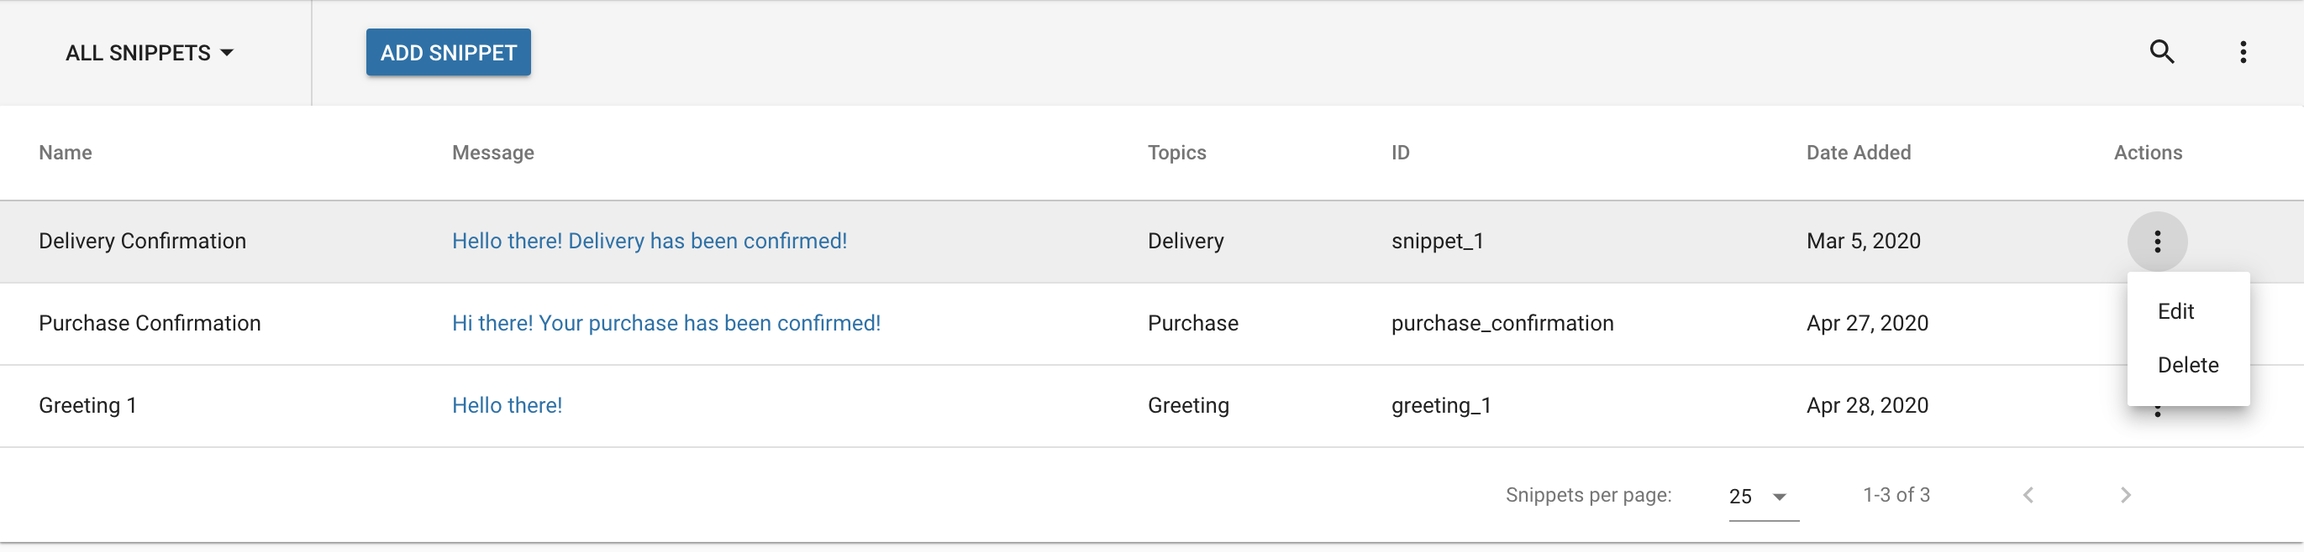
More Actions
At the very right of each Snippet, you can find the dropdown menu (look for the three vertical dots).
From this dropdown menu you will be presented with several options:
Edit: Open up the Edit Snippet Menu where you can make changes to the Snippet Name and Message.
Delete: This permanently deletes the Snippet and it's associated training.
Be careful, deleting a Snippet is irreversible. We cannot help you retrieve a Snippet and its training once it has been deleted.
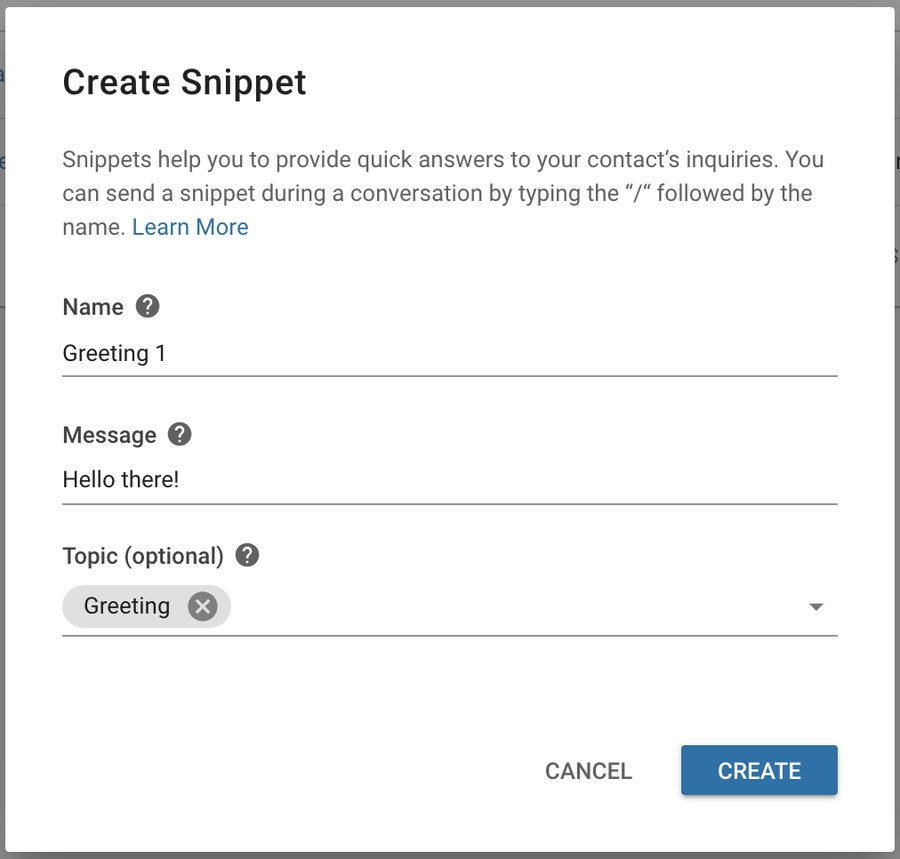
Creating a new Snippet
Step 1: Navigate to Snippets Module From the side navigation menu, select Snippets from the menu
Step 3: Fill up the required information
Step 4: Create Snippet
When you have filled in the fields, press the blue CREATE button to create the Snippet.
Important: Take note that each space can only have up to 5000 snippets.
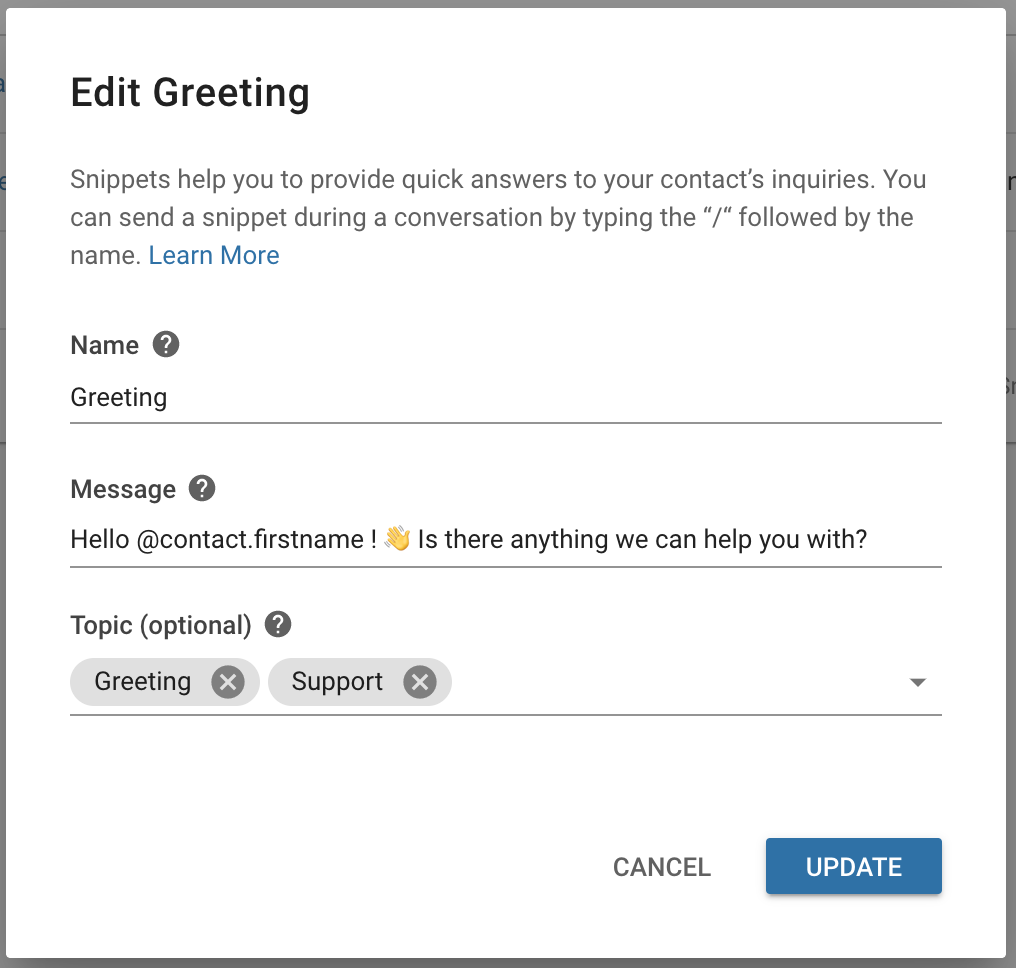
Editing Snippets
If you need to make a change to an existing snippet, you can do so by choosing Edit from the actions menu.
You can make the necessary changes to the snippet and press the UPDATE button when you are done.
Important: Be mindful when you make changes to a snippet as the snippets are shared across the space with other users. Editing a snippet may affect other users in the space.
Deleting a Snippet
If a snippet is no longer relevant or a duplicate of another, it can be deleted from the space by choosing Delete from the actions menu.
Be careful when you delete a snippet as it may be used by other users in the space. Bear in mind that the deletion cannot be undone.
Last updated